May 13, 2024
New Feature: og:image Middleware
The Latest from RedwoodJS

If you've spent any time around the marketing department of your company/startup, you're probably familiar with their obsession with SEO.
These days, one of the most important elements of SEO is the image you see when a URL is unfurled. You've probably seen this in places when pasting a link to a GitHub repo somewhere like Twitter/X (if you're in your 30s) or Facebook (if you're in your 50s). You'll see a preview of the site that looks like this:

Where does that come from? If you look at the source of any page of the Redwood repo you'll see a <meta> that looks like this:
<meta property="og:image" content="https://opengraph.githubassets.com/acbcffd3a6e82ac6f01369bf7a0587cc5638fdfc1ff36265be176911f34cf08b/redwoodjs/redwood">
The og:image marks it as part of the Open Graph protocol, which "enables any web page to become a rich object in a social graph." What that really means is that it's a standard way for bots parsing your site to find out what it's about. This used to be handled by simple title and description meta tags, but with Open Graph you can now share so much more, including an image that acts as a preview or summary of your site.
With Redwood's og:image Middleware, you can now design and distribute these images right alongside the other components in your app! Let's dig in.
How it Works
In React apps, we're used to creating everything as components. In Redwood, pages are components as well, each one being accessible by a unique URL. This new middleware makes it possible to create your og:images as components, alongside the pages they represent.
Let's take a look at an example directory structure:
.
└── web
    └── src
        └── pages
            ├── AboutPage
            │   └── AboutPage.jsx
            └── HomePage
                └── HomePage.jsx
If you wanted an og:image for both of these pages, you'd create them right alongside the page they belongs to. In this example, we'll add one for each page of our app:
.
└── web
    └── src
        └── pages
            ├── AboutPage
            │   ├── AboutPage.jsx
            │   └── AboutPage.og.jsx
            └── HomePage
                ├── HomePage.jsx
                └── HomePage.og.jsx
You'll then use a hook to add the necessary <meta> tag for an og:image, containing the URL to that new image component.
The URL for the image is the same as the page itself, but (by default) with .png appended. For example if the route to the AboutPage was defined as /about then the og:image would be accessible at http://localhost:8910/about.png
The middleware itself is registered in web/src/entry.server.js and when a request comes in, sees that there's an extension on the URL that it recognizes (.png in this case) and intercepts it. The middleware opens the component we added above, wraps it in the the same <App> and <Document> as a regular page would be, and then gives it to playwright. This means the component is rendered in a real browser and then screenshotted, guaranteeing a one-to-one match to what the component would look like when rendered normally by React (because it is rendered by React!).
It's important to note that if you're using the built-in web/src/index.css file (or additional custom stylesheets) you're automatically using the same ones in your og:image components! Define your styles once and they're used everywhere.
Requirements
For now you'll need to be using Redwood's experimental streaming/SSR support to use the og:image middleware, which is only available in the latest Redwood canary releases.
Here's a sample app you can create and follow along with the code snippets below. Before this works you'll need to be on Node >= 20 and have yarn installed with corepack enable . To keep things simple, the code samples below will be in plain JavaScript (you can select that as an option during the install).
The og:image generation requires playwright, which is a two step process to add to your app: adding the dependency and then installing the playwright browser engines.
Here's the full list of commands to get to started, including Tailwind for easy styling, and a couple of pages:
npx -y create-redwood-app@canary ogimage-app
cd ogimage-app
yarn install
yarn rw experimental setup-streaming-ssr -f
yarn rw setup ui tailwind
yarn rw g page Home /
yarn rw g page Photo /photo
yarn rw dev
Installation
We have a CLI command which will make the modifications necessary to get og:image Middleware up and running. In the post-install message you'll see the instructions for installing playwright:
yarn rw setup middleware og-image
yarn workspace api add playwright
yarn workspace api playwright install
If you want to see what it did, take a look at web/src/entry.server.js and web/vite.config.js. The OgImageMiddleware() is added to the middleware chain, and vitePluginOgImagGen() is added to the vite plugins in order to get our new og:image components bundled up for production:
import OgImageMiddleware from '@redwoodjs/ogimage-gen/middleware'

import App from './App'
import { Document } from './Document'

export const registerMiddleware = () => {
  const ogMw = new OgImageMiddleware({
    App,
    Document,
  })

  return [ogMw]
}

export const ServerEntry = ({ css, meta }) => {
  return (
    <Document css={css} meta={meta}>
      <App />
    </Document>
  )
}
Image Creation
It's time to create an og:image! Once again we've got a CLI command to create one to pair to an existing page:
yarn rw g og-image PhotoPage
That will create a component at web/src/pages/PhotoPage/PhotoPage.og.jsx Open it up and take a look:
export const data = async () => {
  return { time: new Date() }
}

export const output = ({ data }) => {
  return (
    <h1>PhotoPage og:image</h1>
    <p>Find me in <code>./web/src/pages/PhotoPage/PhotoPage.jsx</code></p>
    <p>The time is now {data.toISOString()}</p>
  )
}
og:image components need to export at least output() which will be the content of the image itself. It can optionally export data() which is executed on the server and can process and return any data you want available to use in your image generation.
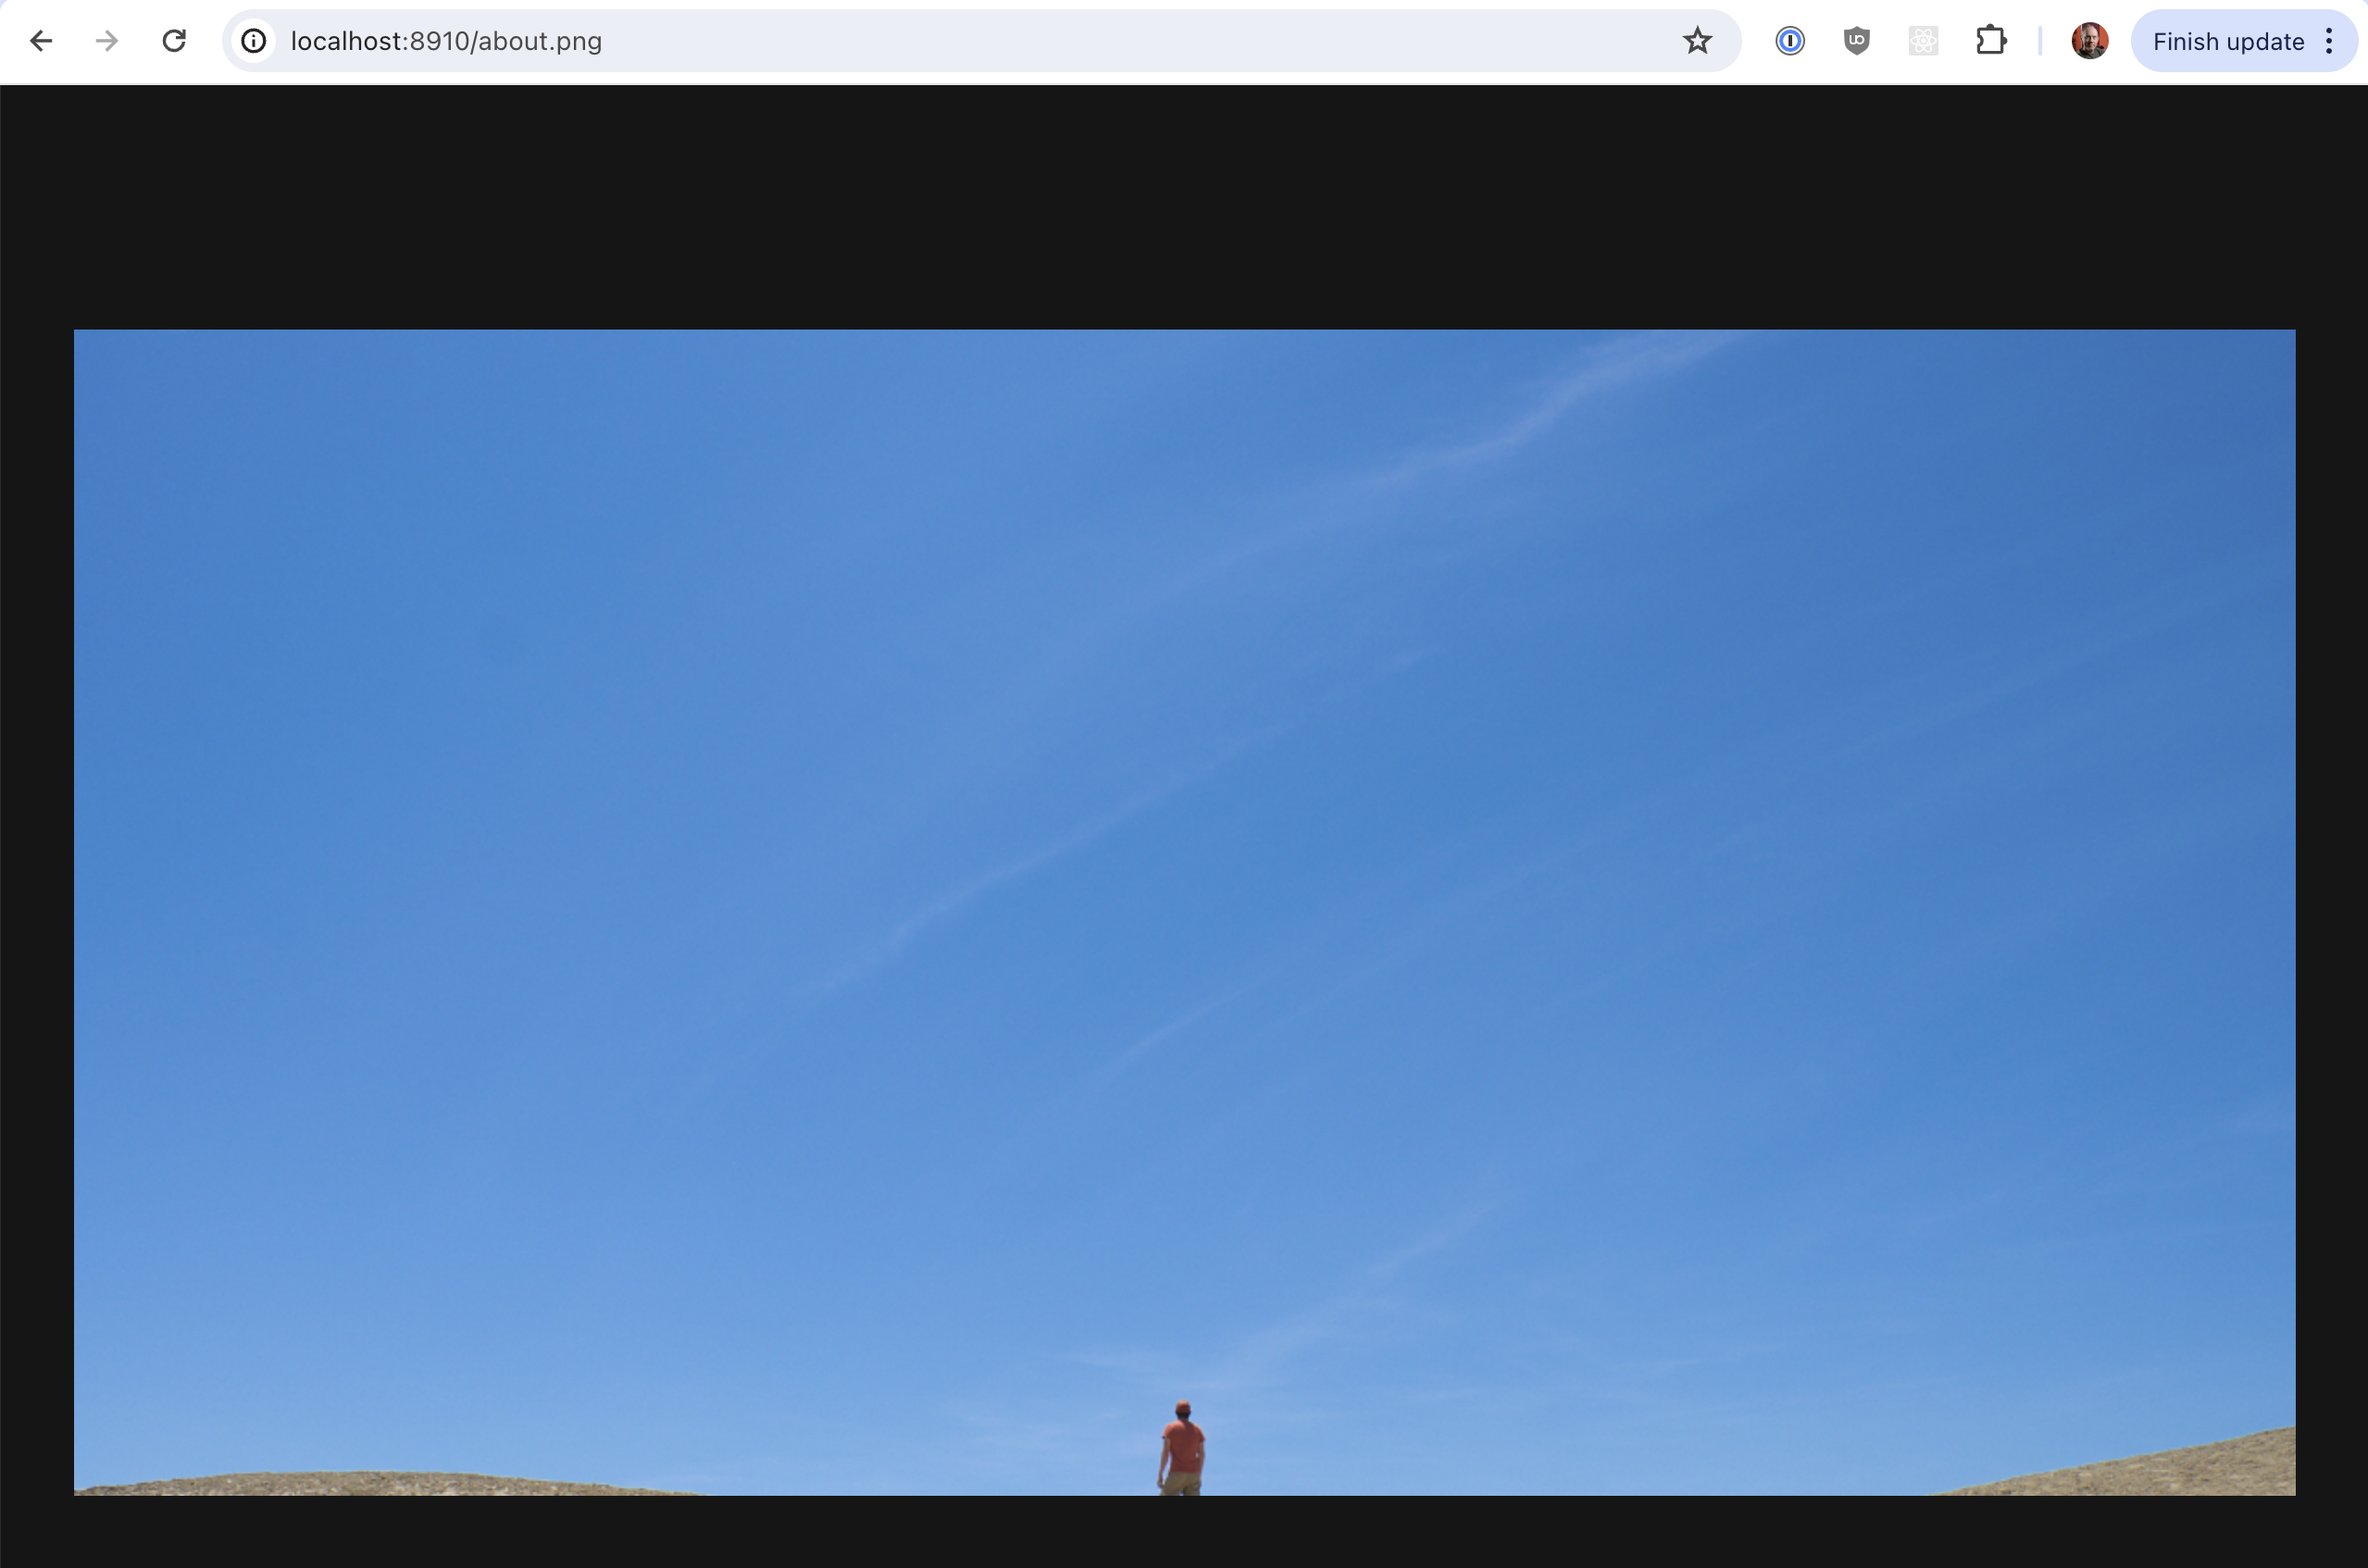
The content of this component will not be very exciting, but we can check that it works by browsing to the URL for this image. It's the same as the URL to the PhotoPage itself, plus the extension: http://localhost:8910/photo.png
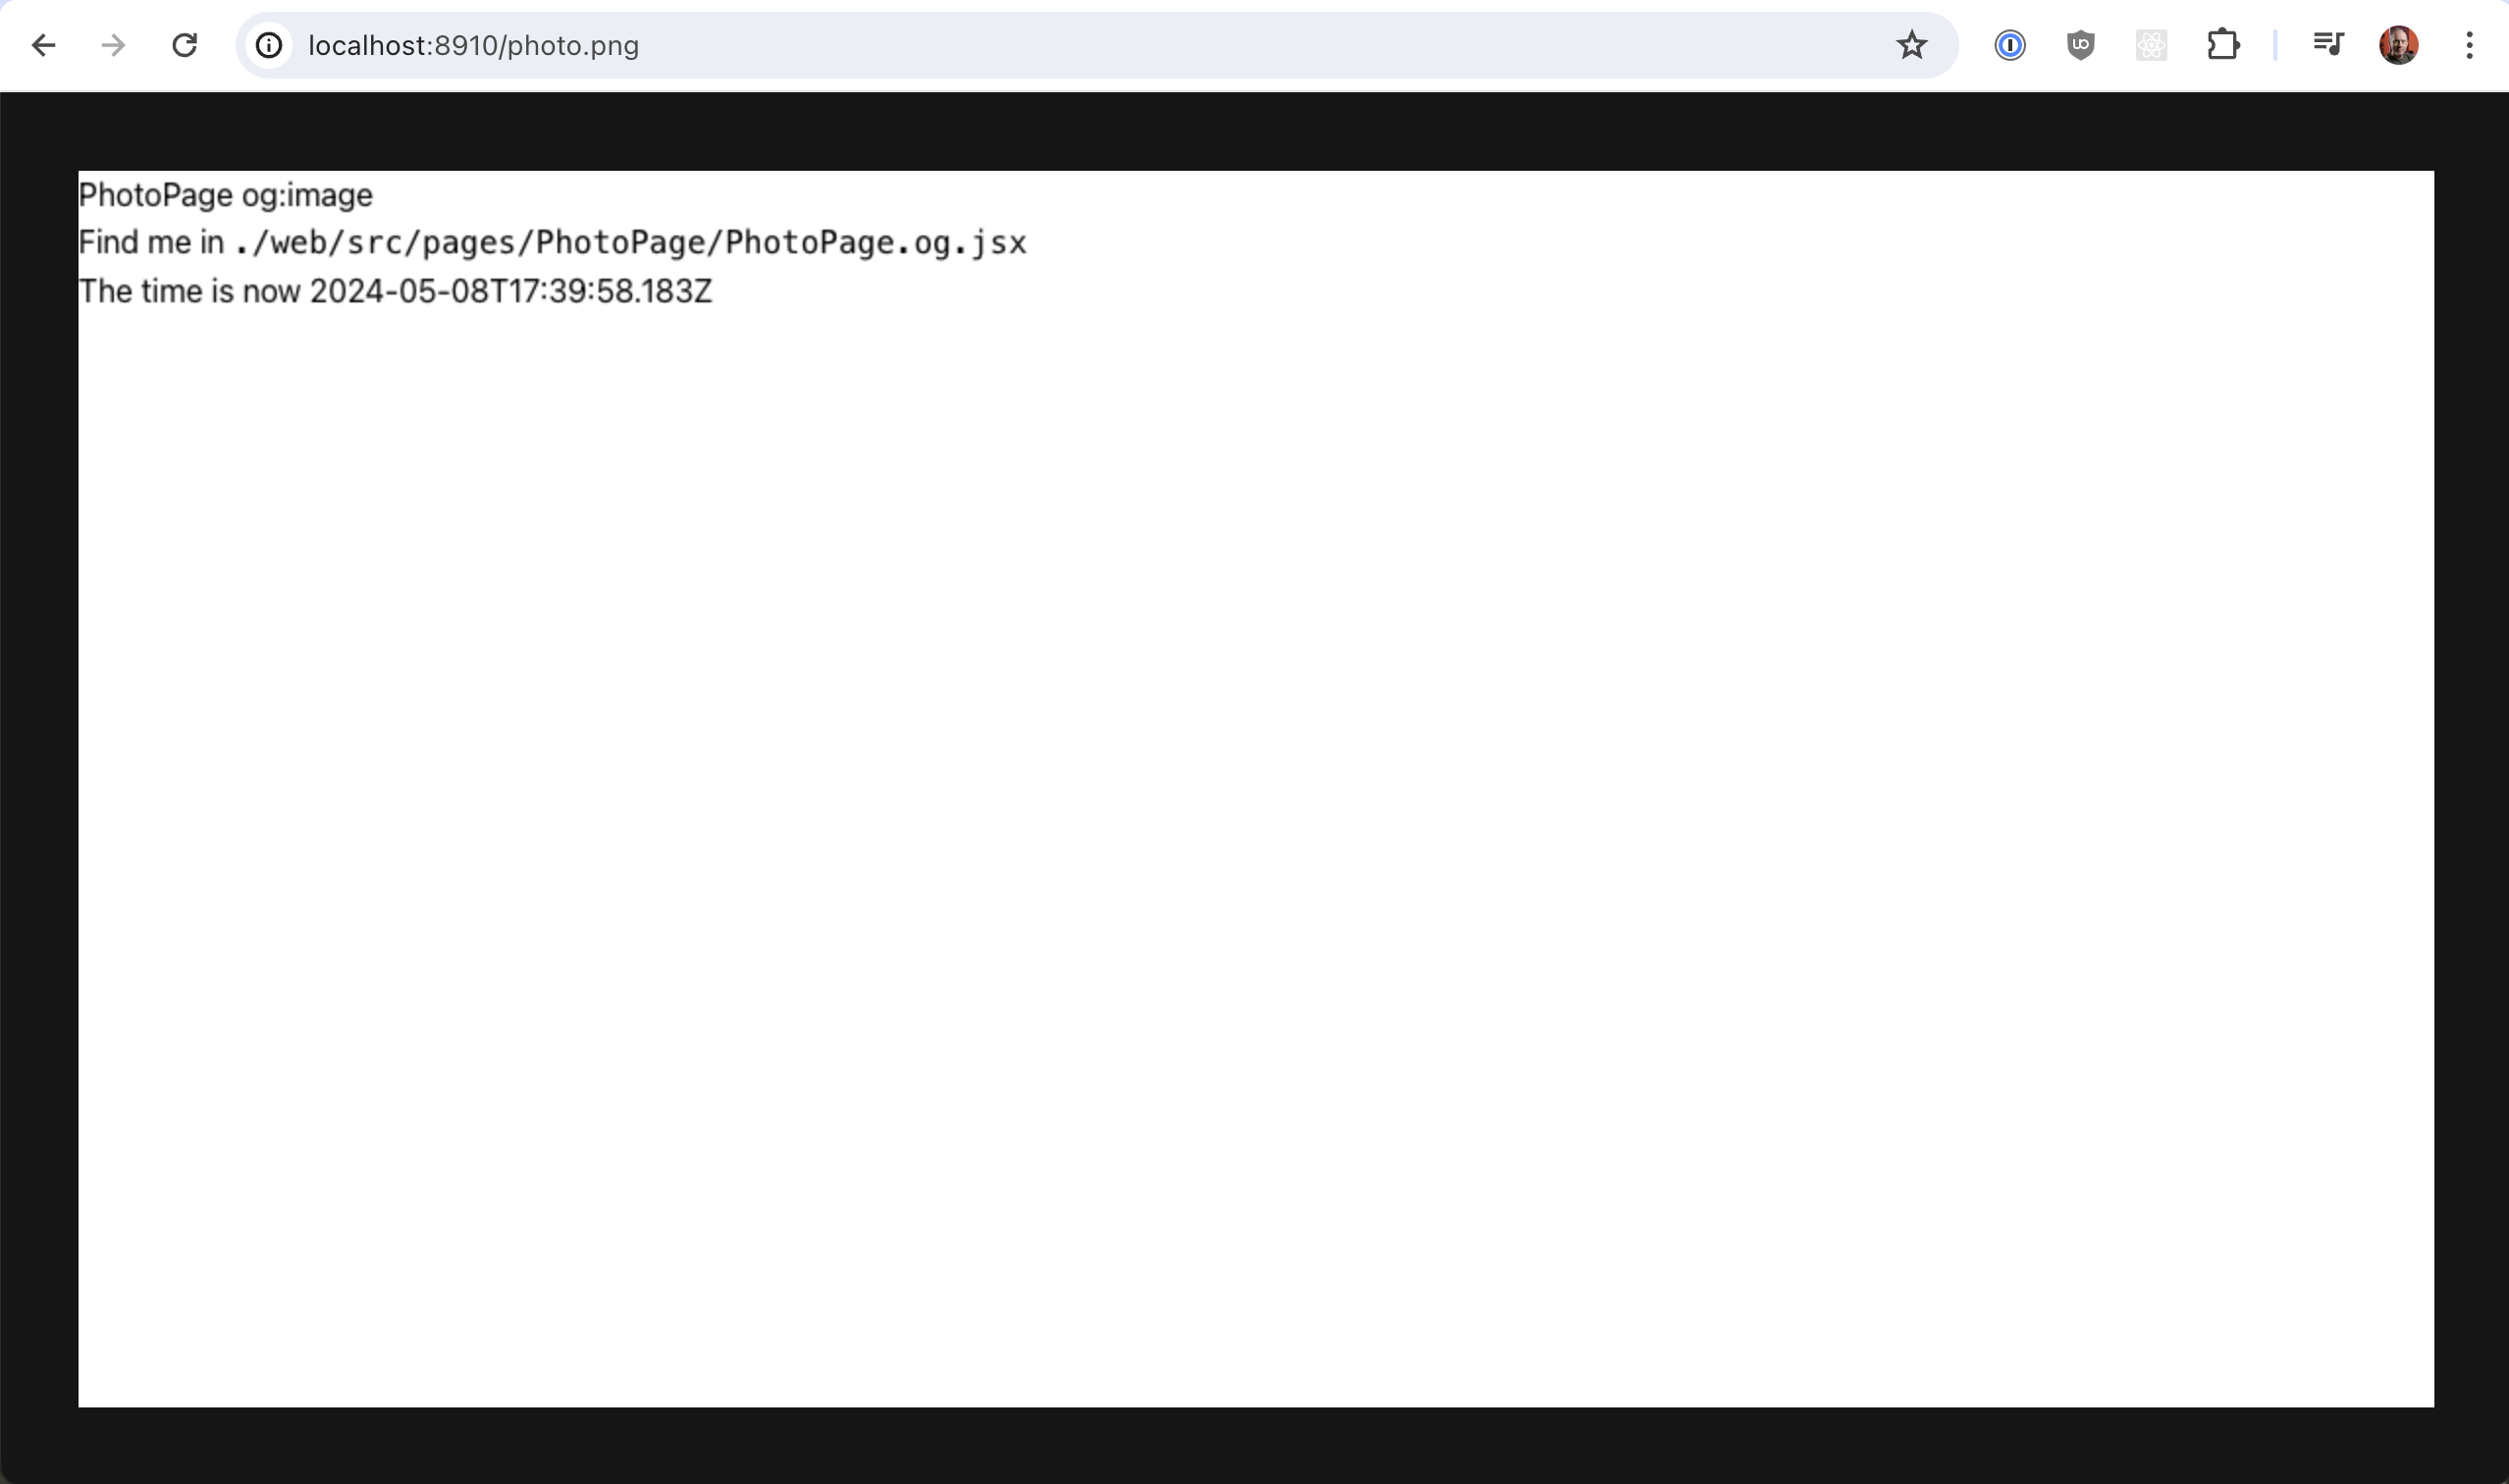
You should see the text in the upper right, and if you right click notice that you can "Save Image As" meaning this is real image!
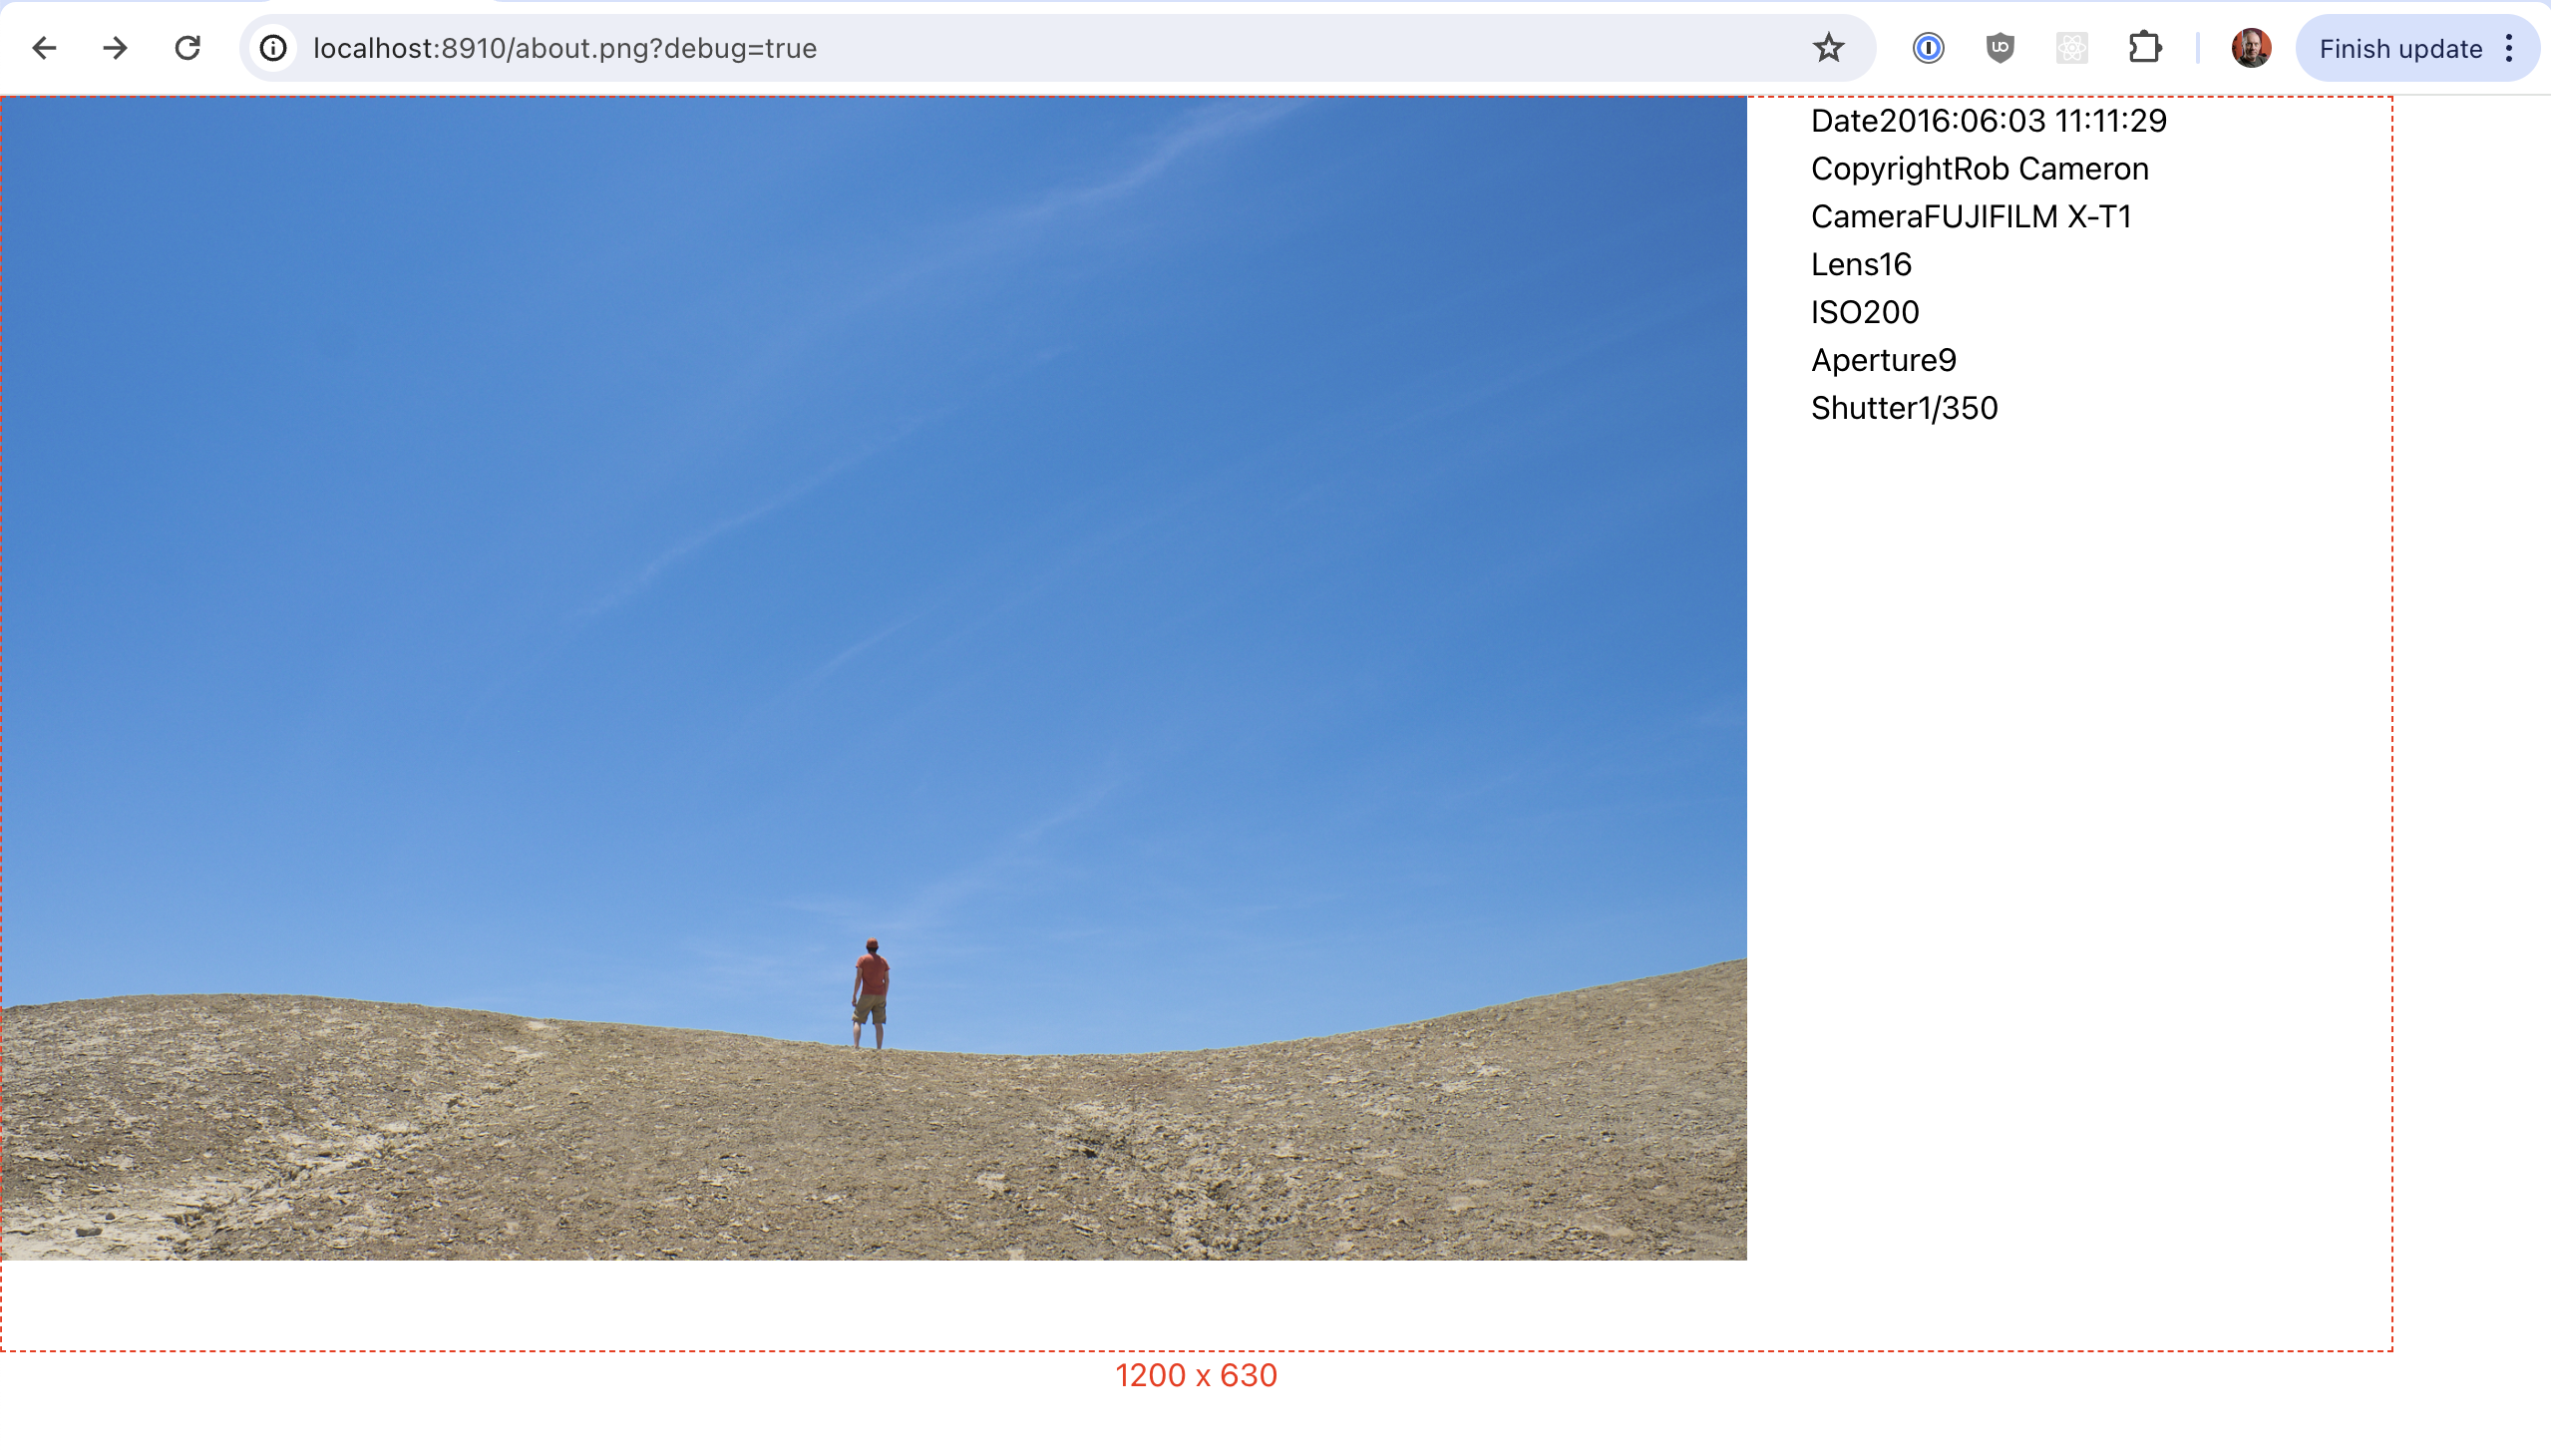
Now try this URL: http://localhost:8910/photo.png?debug=true
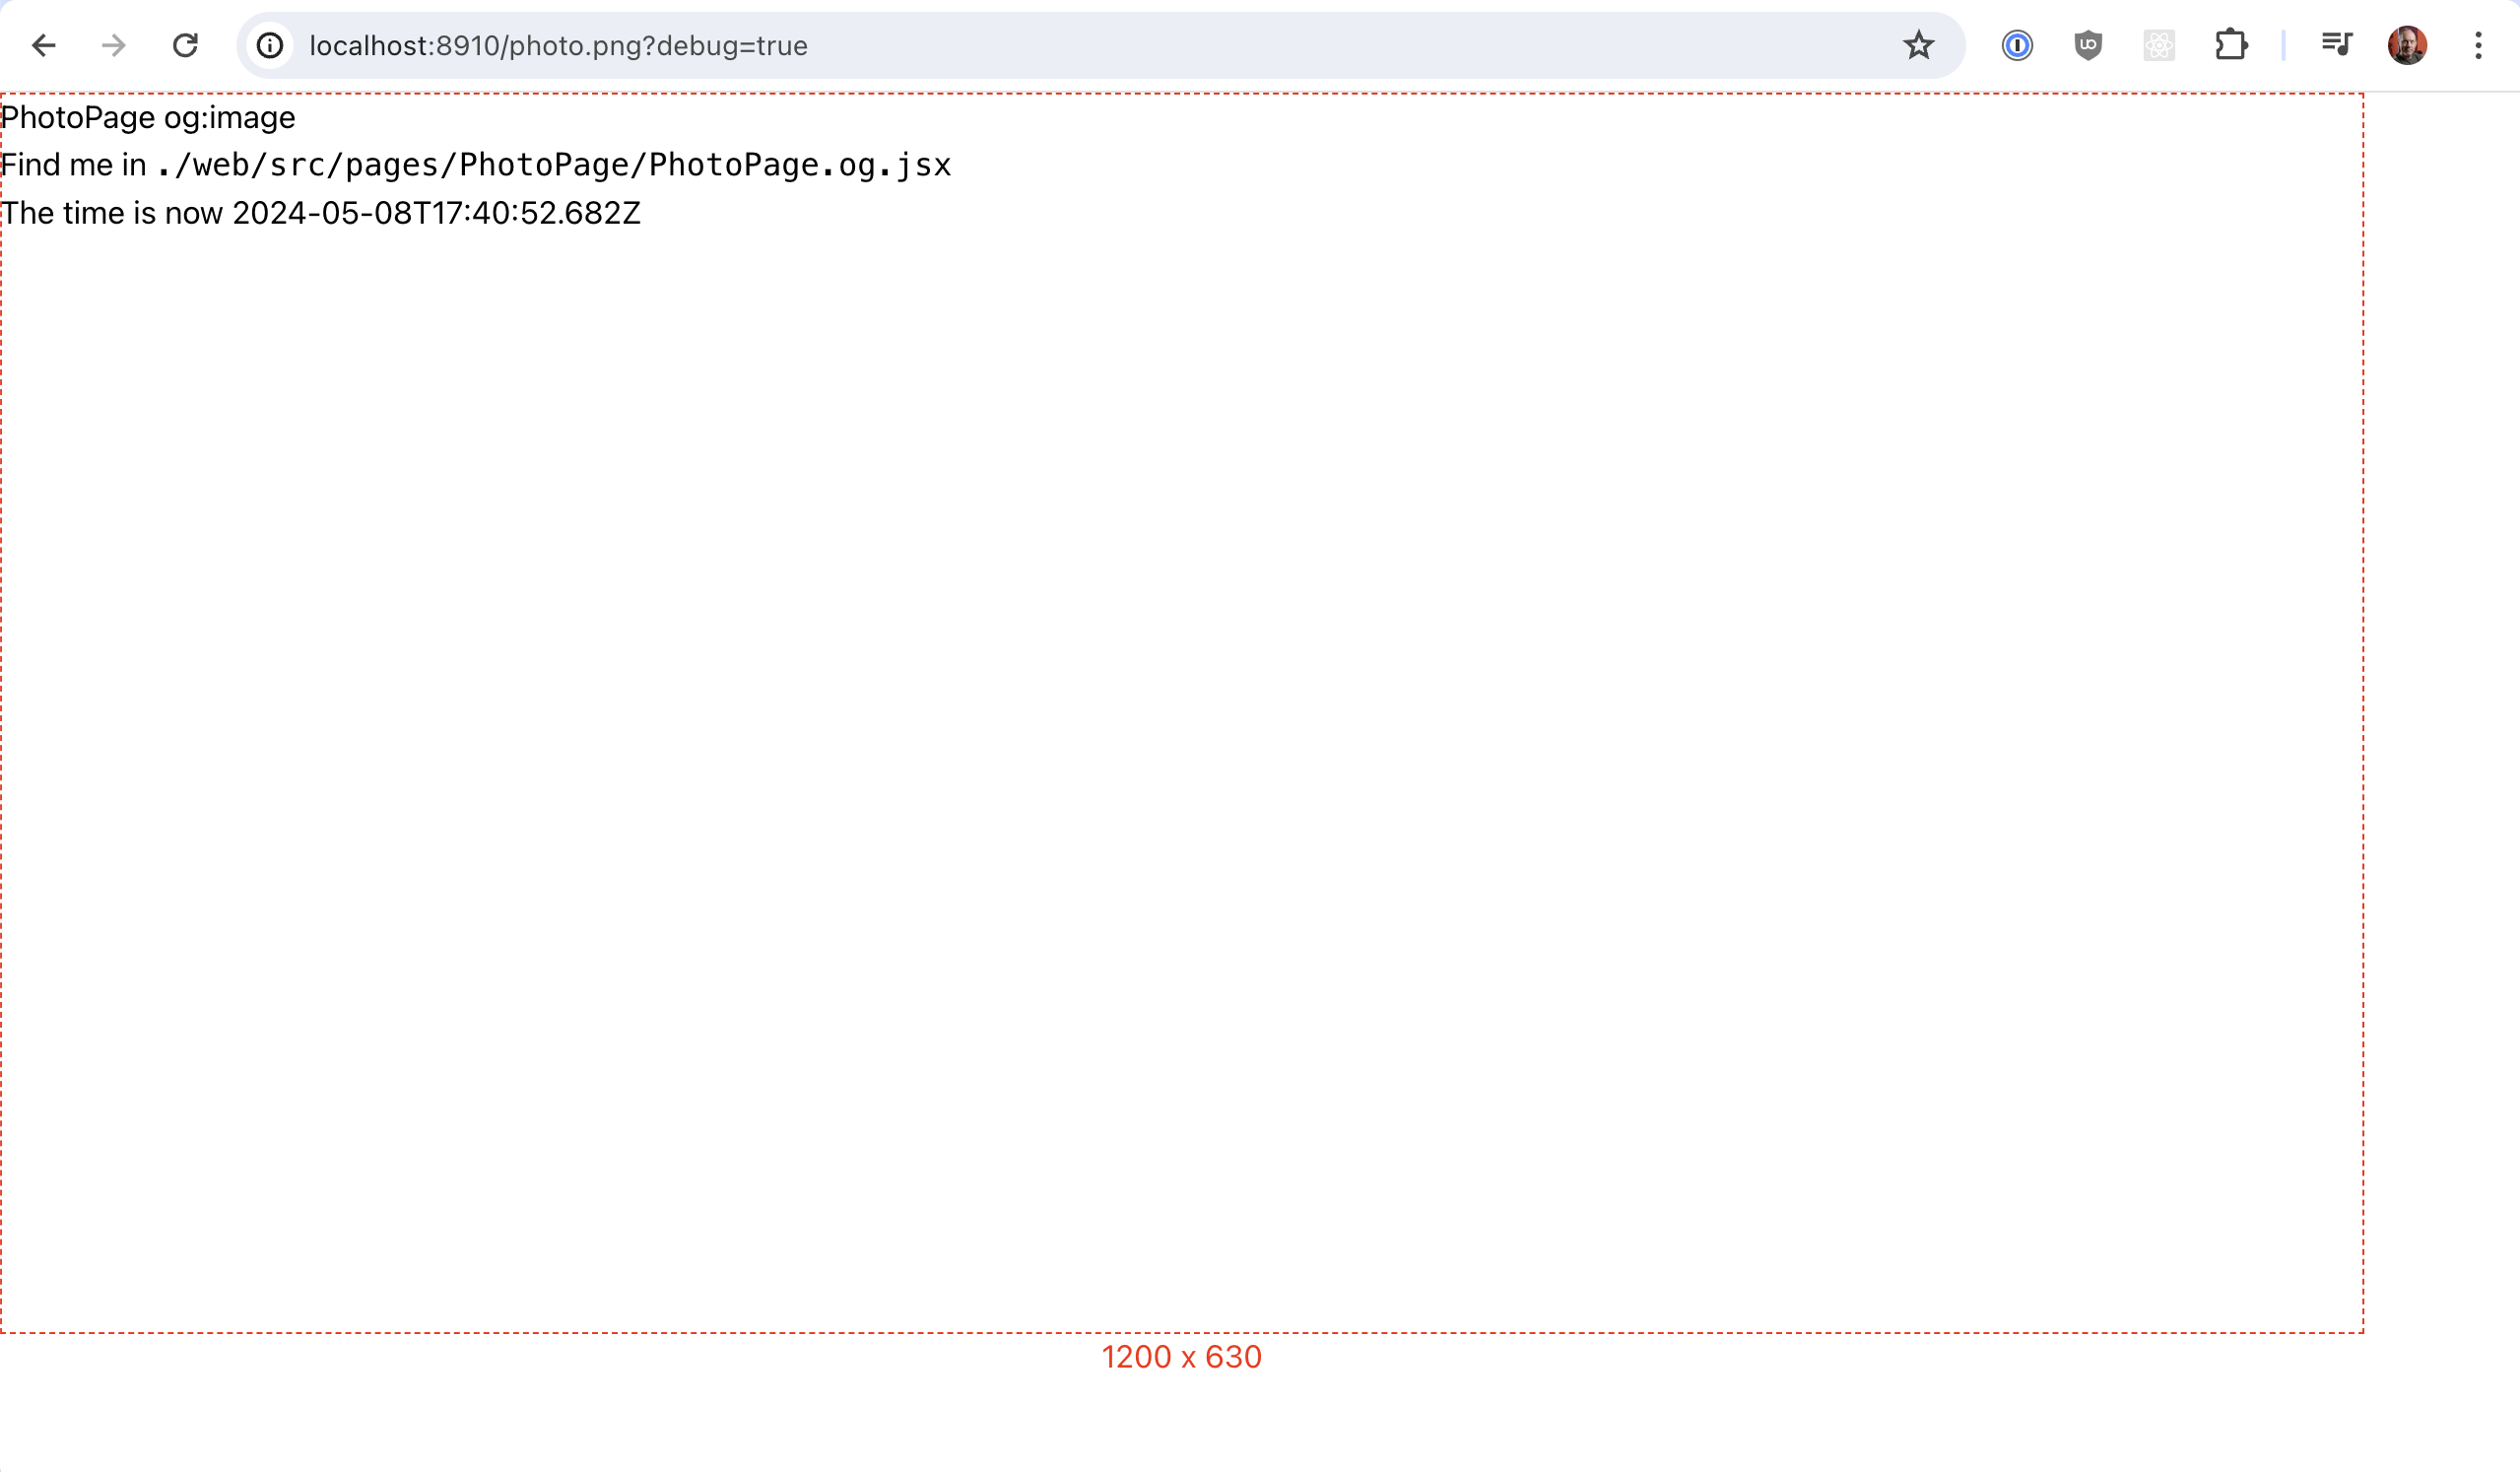
By adding ?debug=true you get the HTML version of your component, before rendering to an image, including a border that shows how big your image will be rendered! 1200x630 is the default image size for an og:image, but you can override this (more on this in a moment).
This makes it much easier to build out your component because you can use the same workflow you use when creating any other part of your site, including the ability to inspect the HTML/CSS in the Web Inspector and tweak things on the fly.
debug restored our sanity.Adding Data
The data() function at the top of the component can execute anything you can perform in a server context (database access, file system access, third-party API calls). It won't have access to any authentication context because remember: these images will be accessed by bots crawling your site, and they have no concept of logging into your application!
For this example og:image let's borrow a concept from our RSC demo app and present a photo and its metadata: shutter speed, f/stop, etc. Open this photo and then right-click and save it to your app in web/public directory, naming it photo.jpg :
https://github.com/cannikin/cambium-rsc/blob/main/web/public/photos/20160603-DSF2047.jpg?raw=true
And we'll add a npm package so that we can read the metadata from an image:
yarn workspace api add exif
Be sure to restart your dev server!
Now we'll use that in data() to extract the metadata in the image itself and return an object with exif data we care about. We'll also update output() to just stringify the result of data() so we can be sure it worked:
import path from 'node:path'

import ExifImage from 'exif'

// converts ExifImage's callback-style to Promise-style
const metadata = (filename) => {
  return new Promise((resolve, reject) => {
    ExifImage({ image: filename }, (error, data) =>
      error ? reject(error) : resolve(data)
    )
  })
}

export const data = async () => {
  // note this path works in development but would need to be
  // modified for production
  const filename = path.join(
    import.meta.dirname,
    '..',
    '..',
    '..',
    'public',
    'photo.jpg'
  )

  const { image, exif } = await metadata(filename)

  return {
    Date: exif.DateTimeOriginal,
    Copyright: image.Copyright,
    Camera: `${image.Make} ${image.Model}`,
    Lens: exif.FocalLength,
    ISO: exif.ISO,
    Aperture: Math.round(1.4142 ** exif.ApertureValue * 10) / 10,
    Shutter: `1/${parseInt(1 / exif.ExposureTime)}`,
  }
}

export const output = ({ data }) => {
  return <div>{JSON.stringify(data)}</div>
}
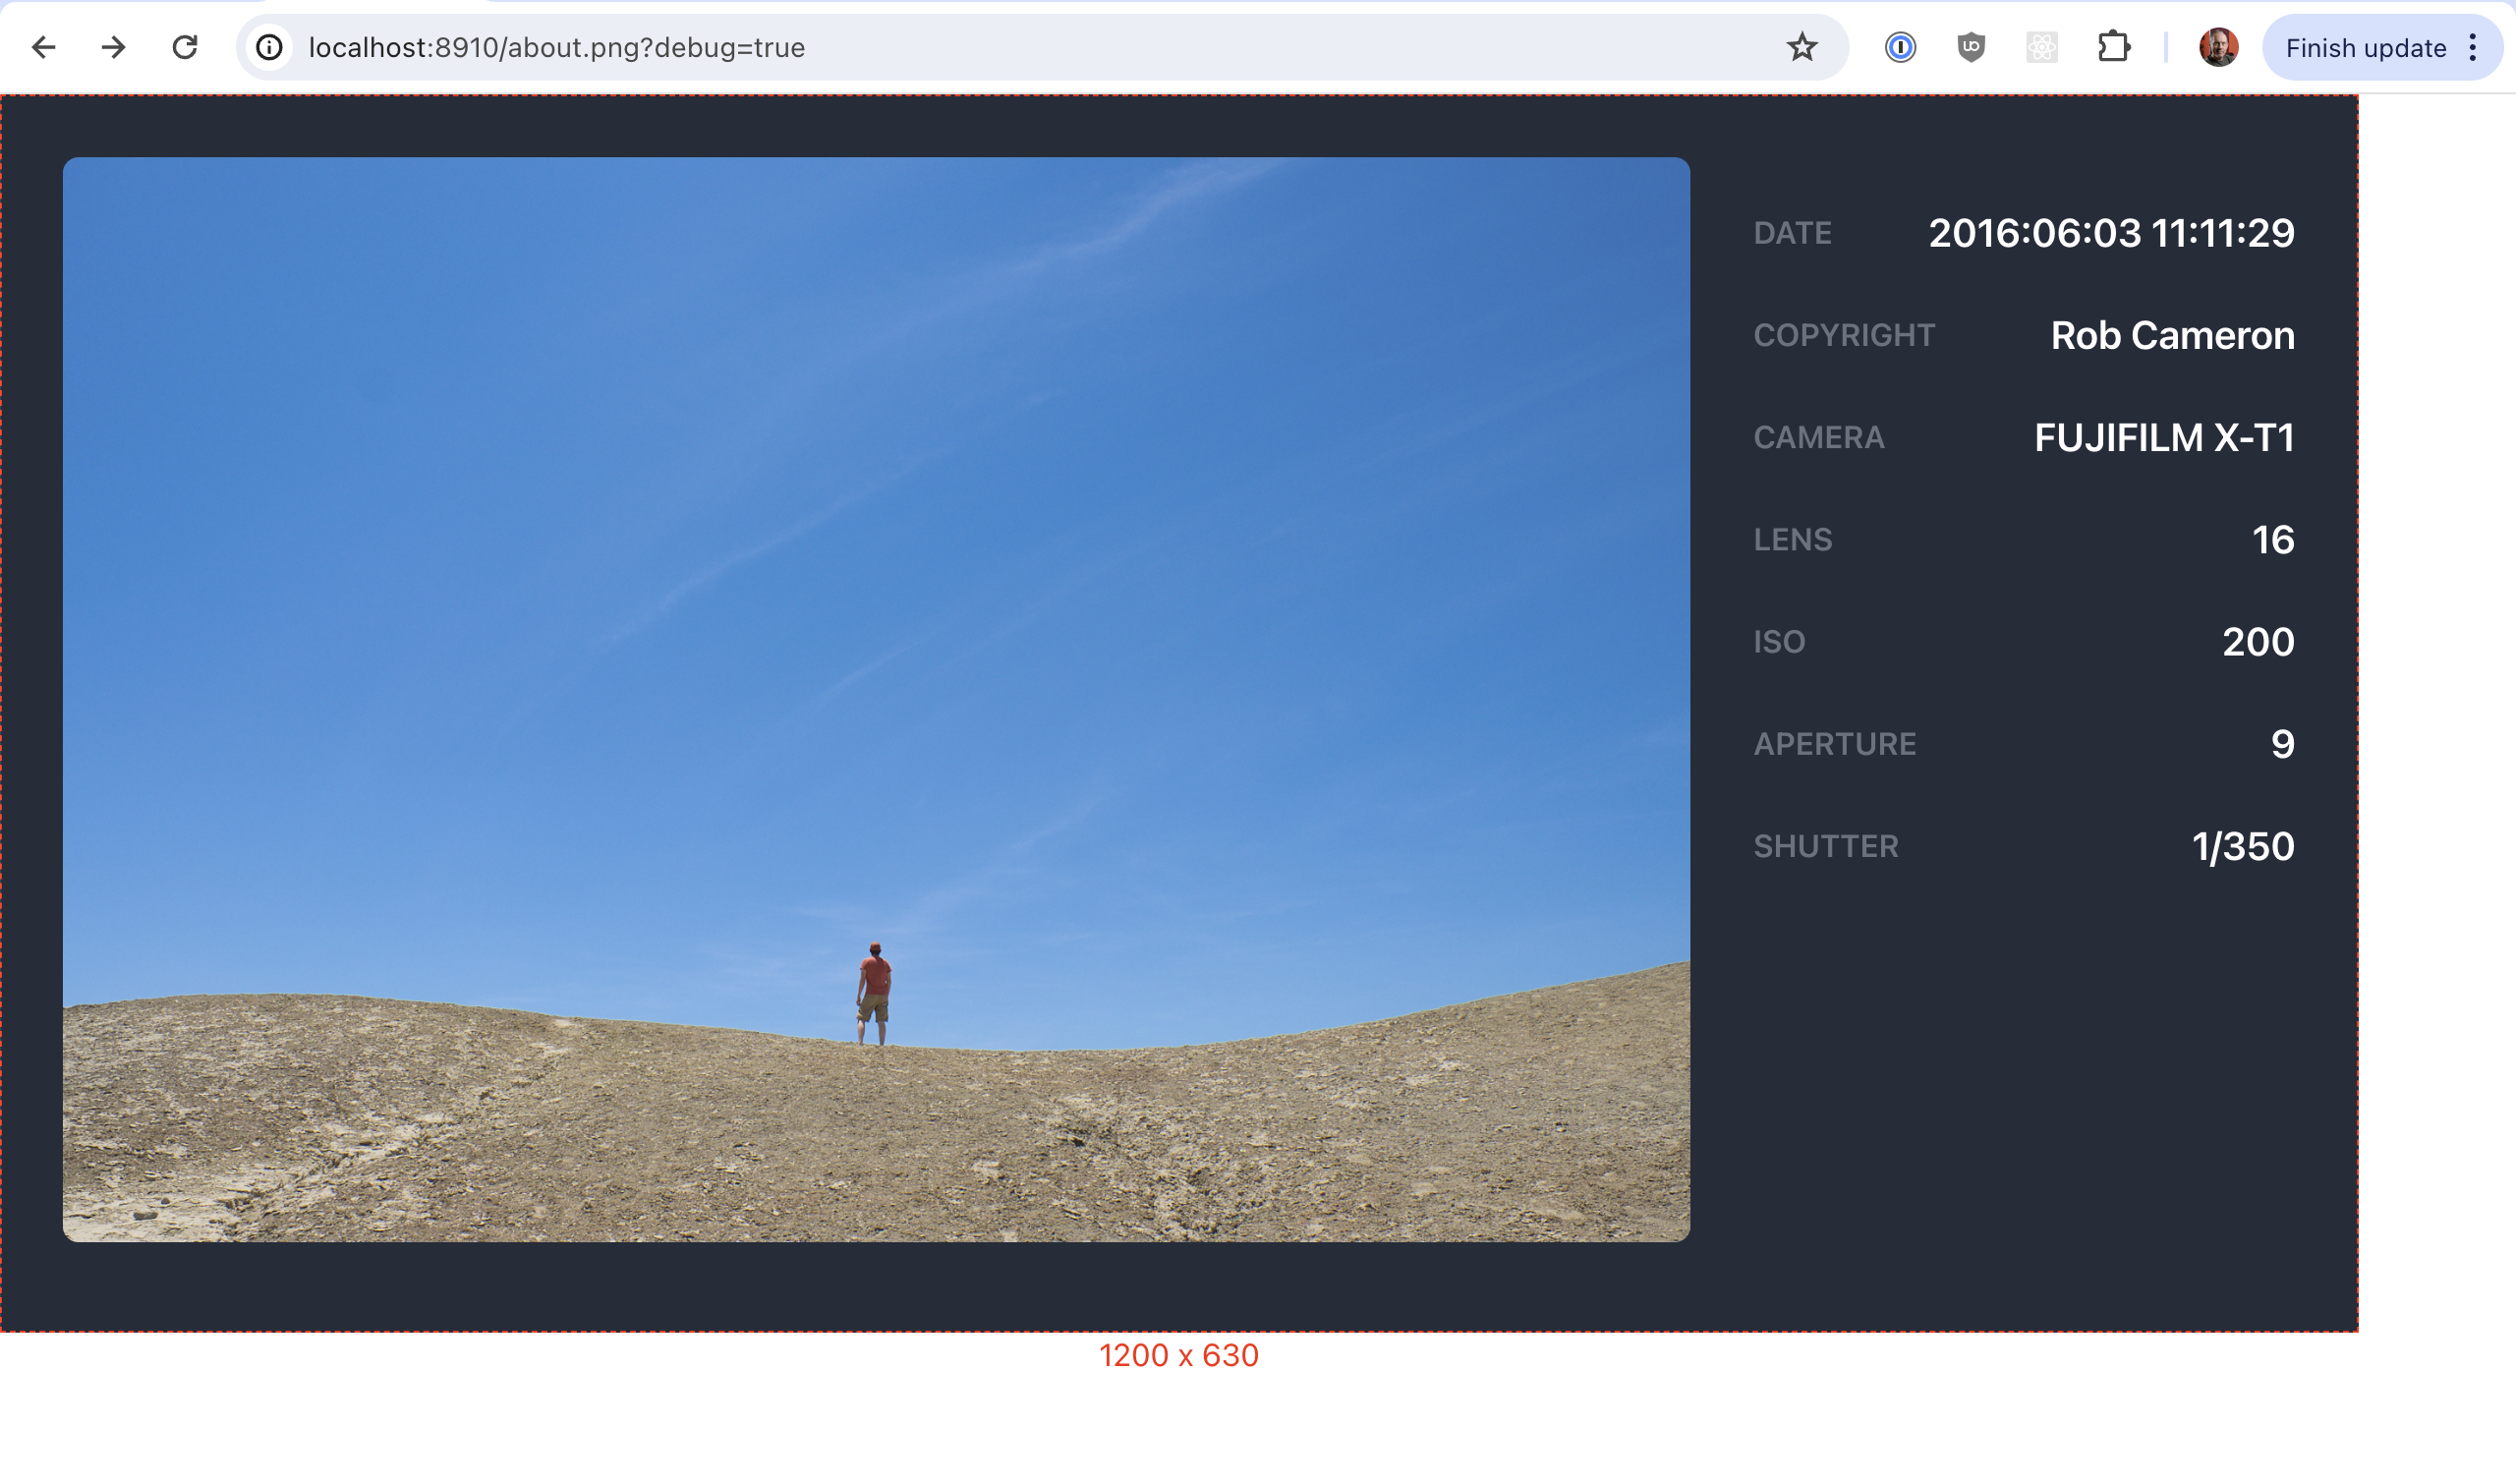
Reloading the browser should result in something like this:
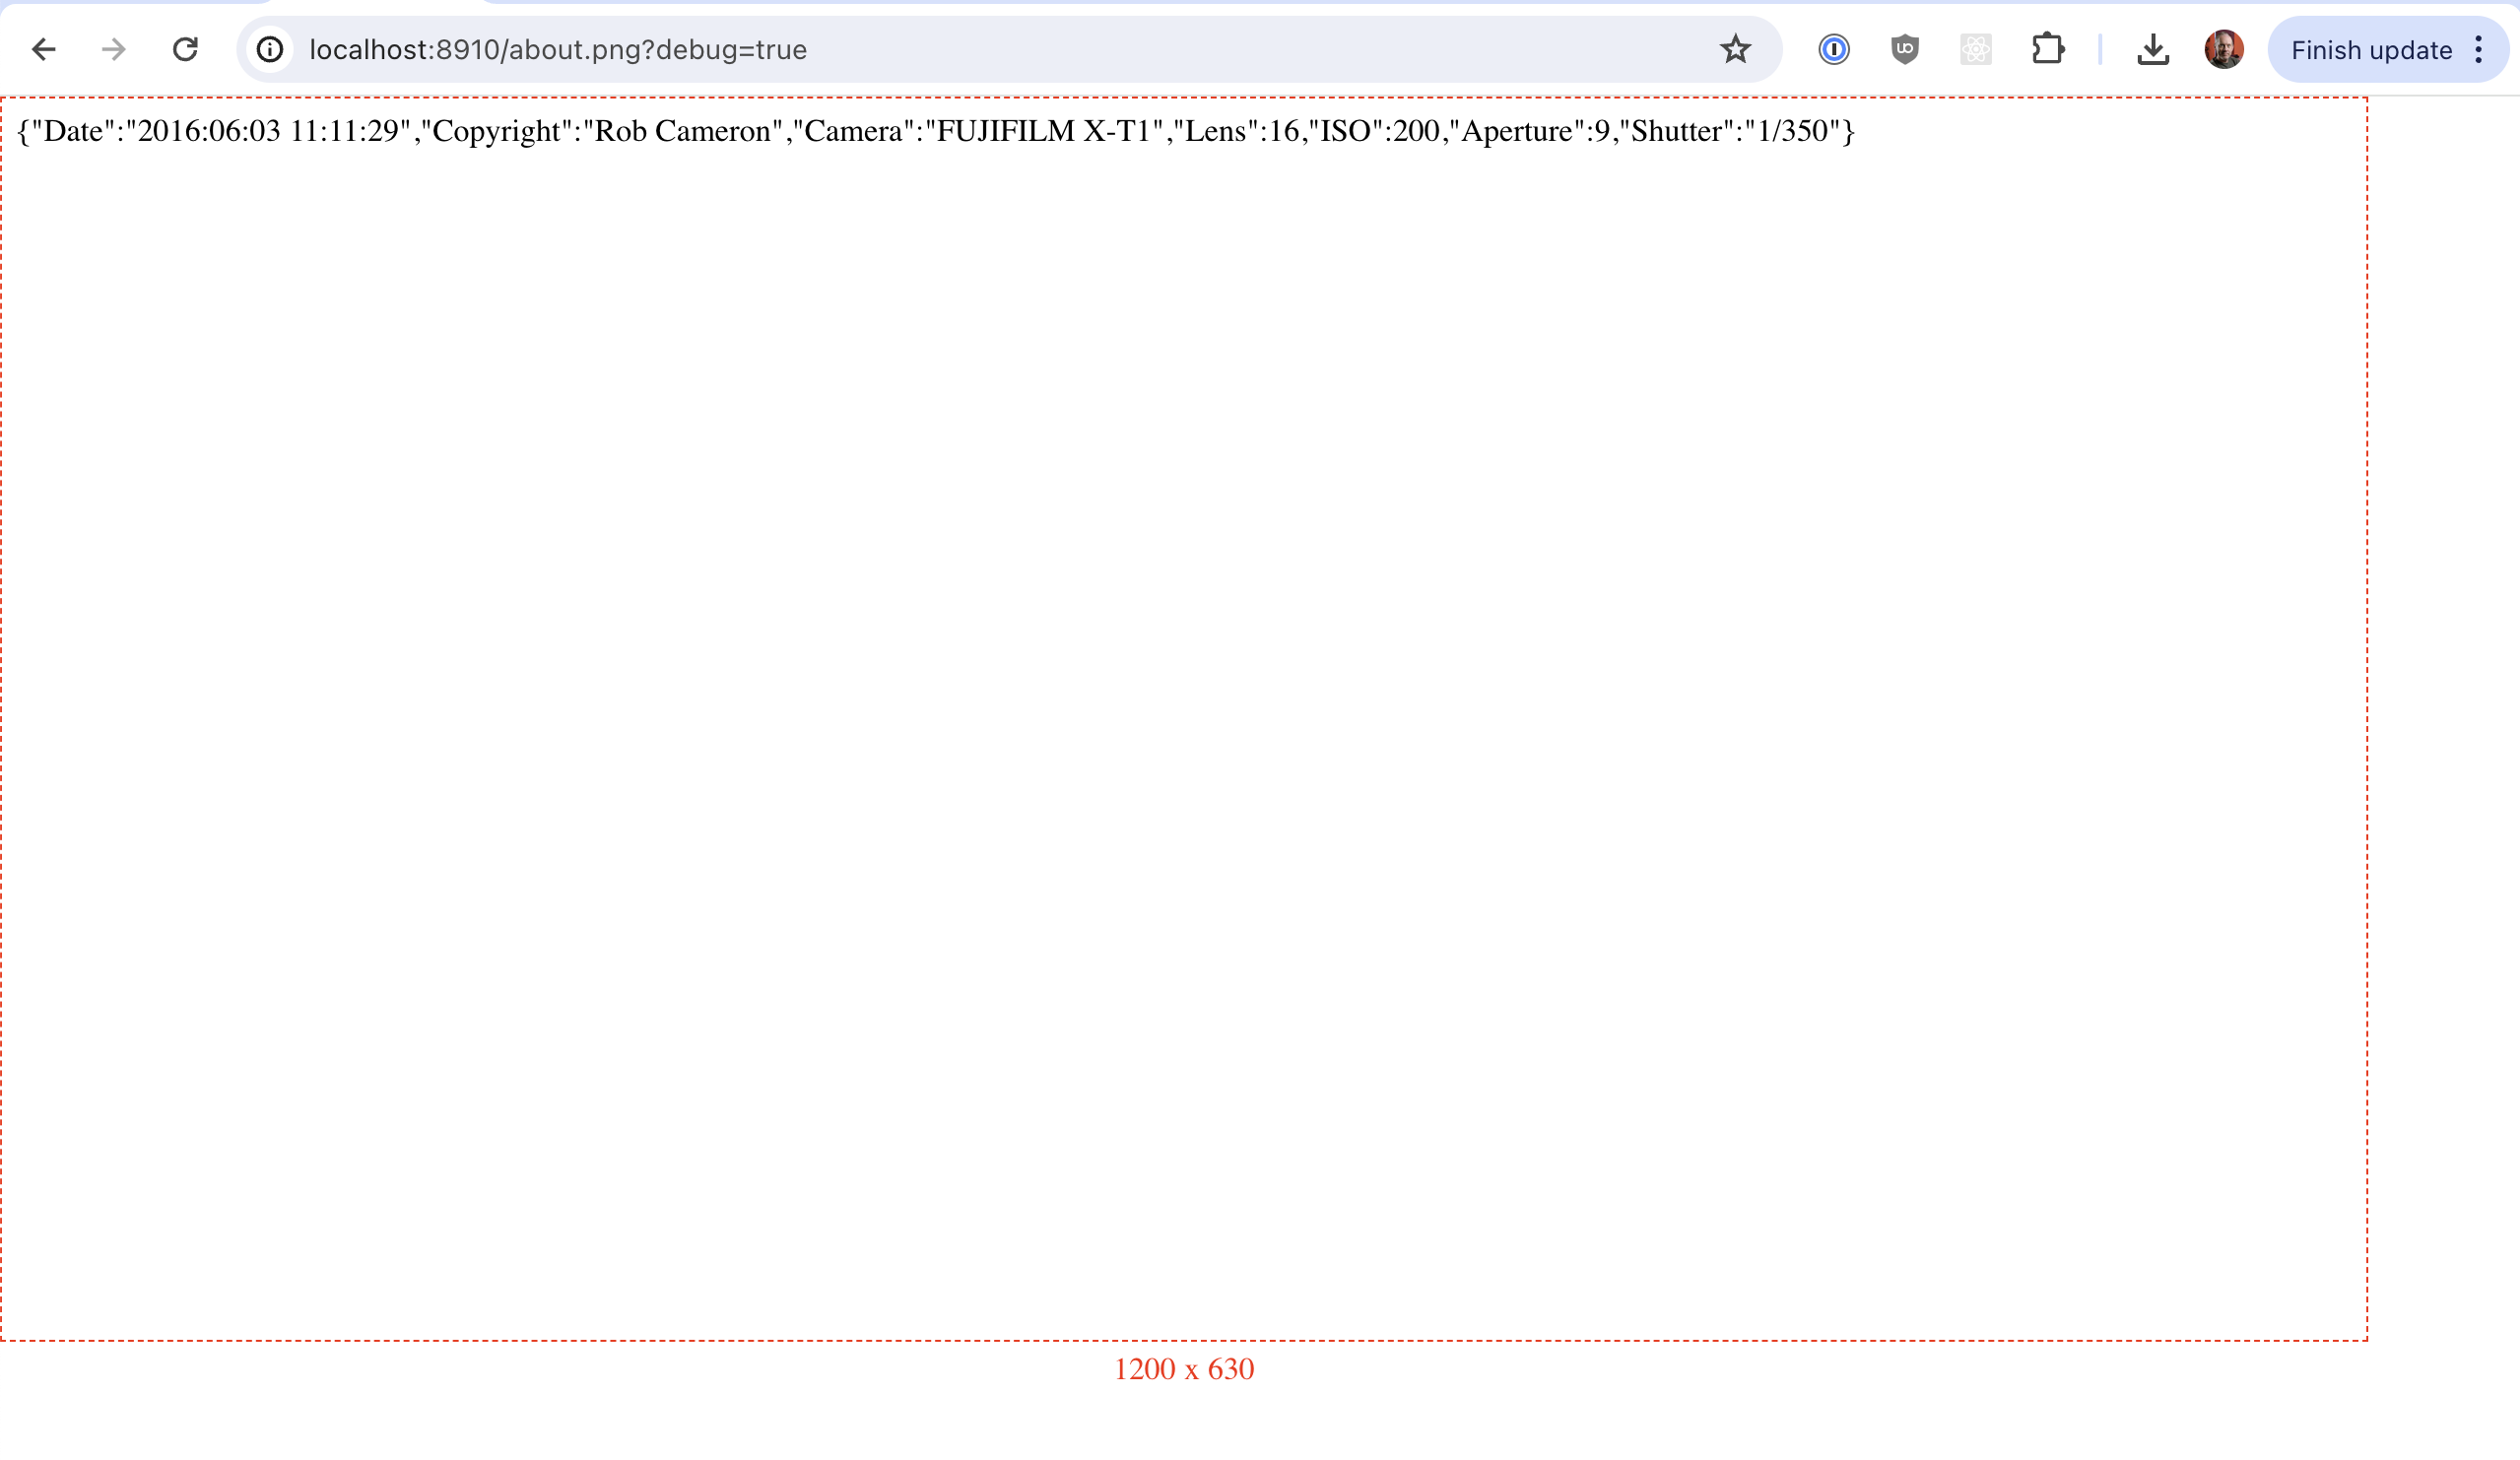
data() works! Let's make this look a little nicer, and include the photo itself in the image.
Formatting Output
Since output() returns a regular React component like anything else, it should be fairly easy to make it look just like we want. First, let's include the photo itself.
web/public directory. For example, to reference web/public/photo.jpg you'll use /photo.jpg in any <img> element. Eventually you'll be able to import them at the top of your component just like anywhere else in a Redwood app.export const output = ({ data }) => {
return (
<div>
<img src="/photo.jpg" alt="photo" />
</div>
)
}
web/public!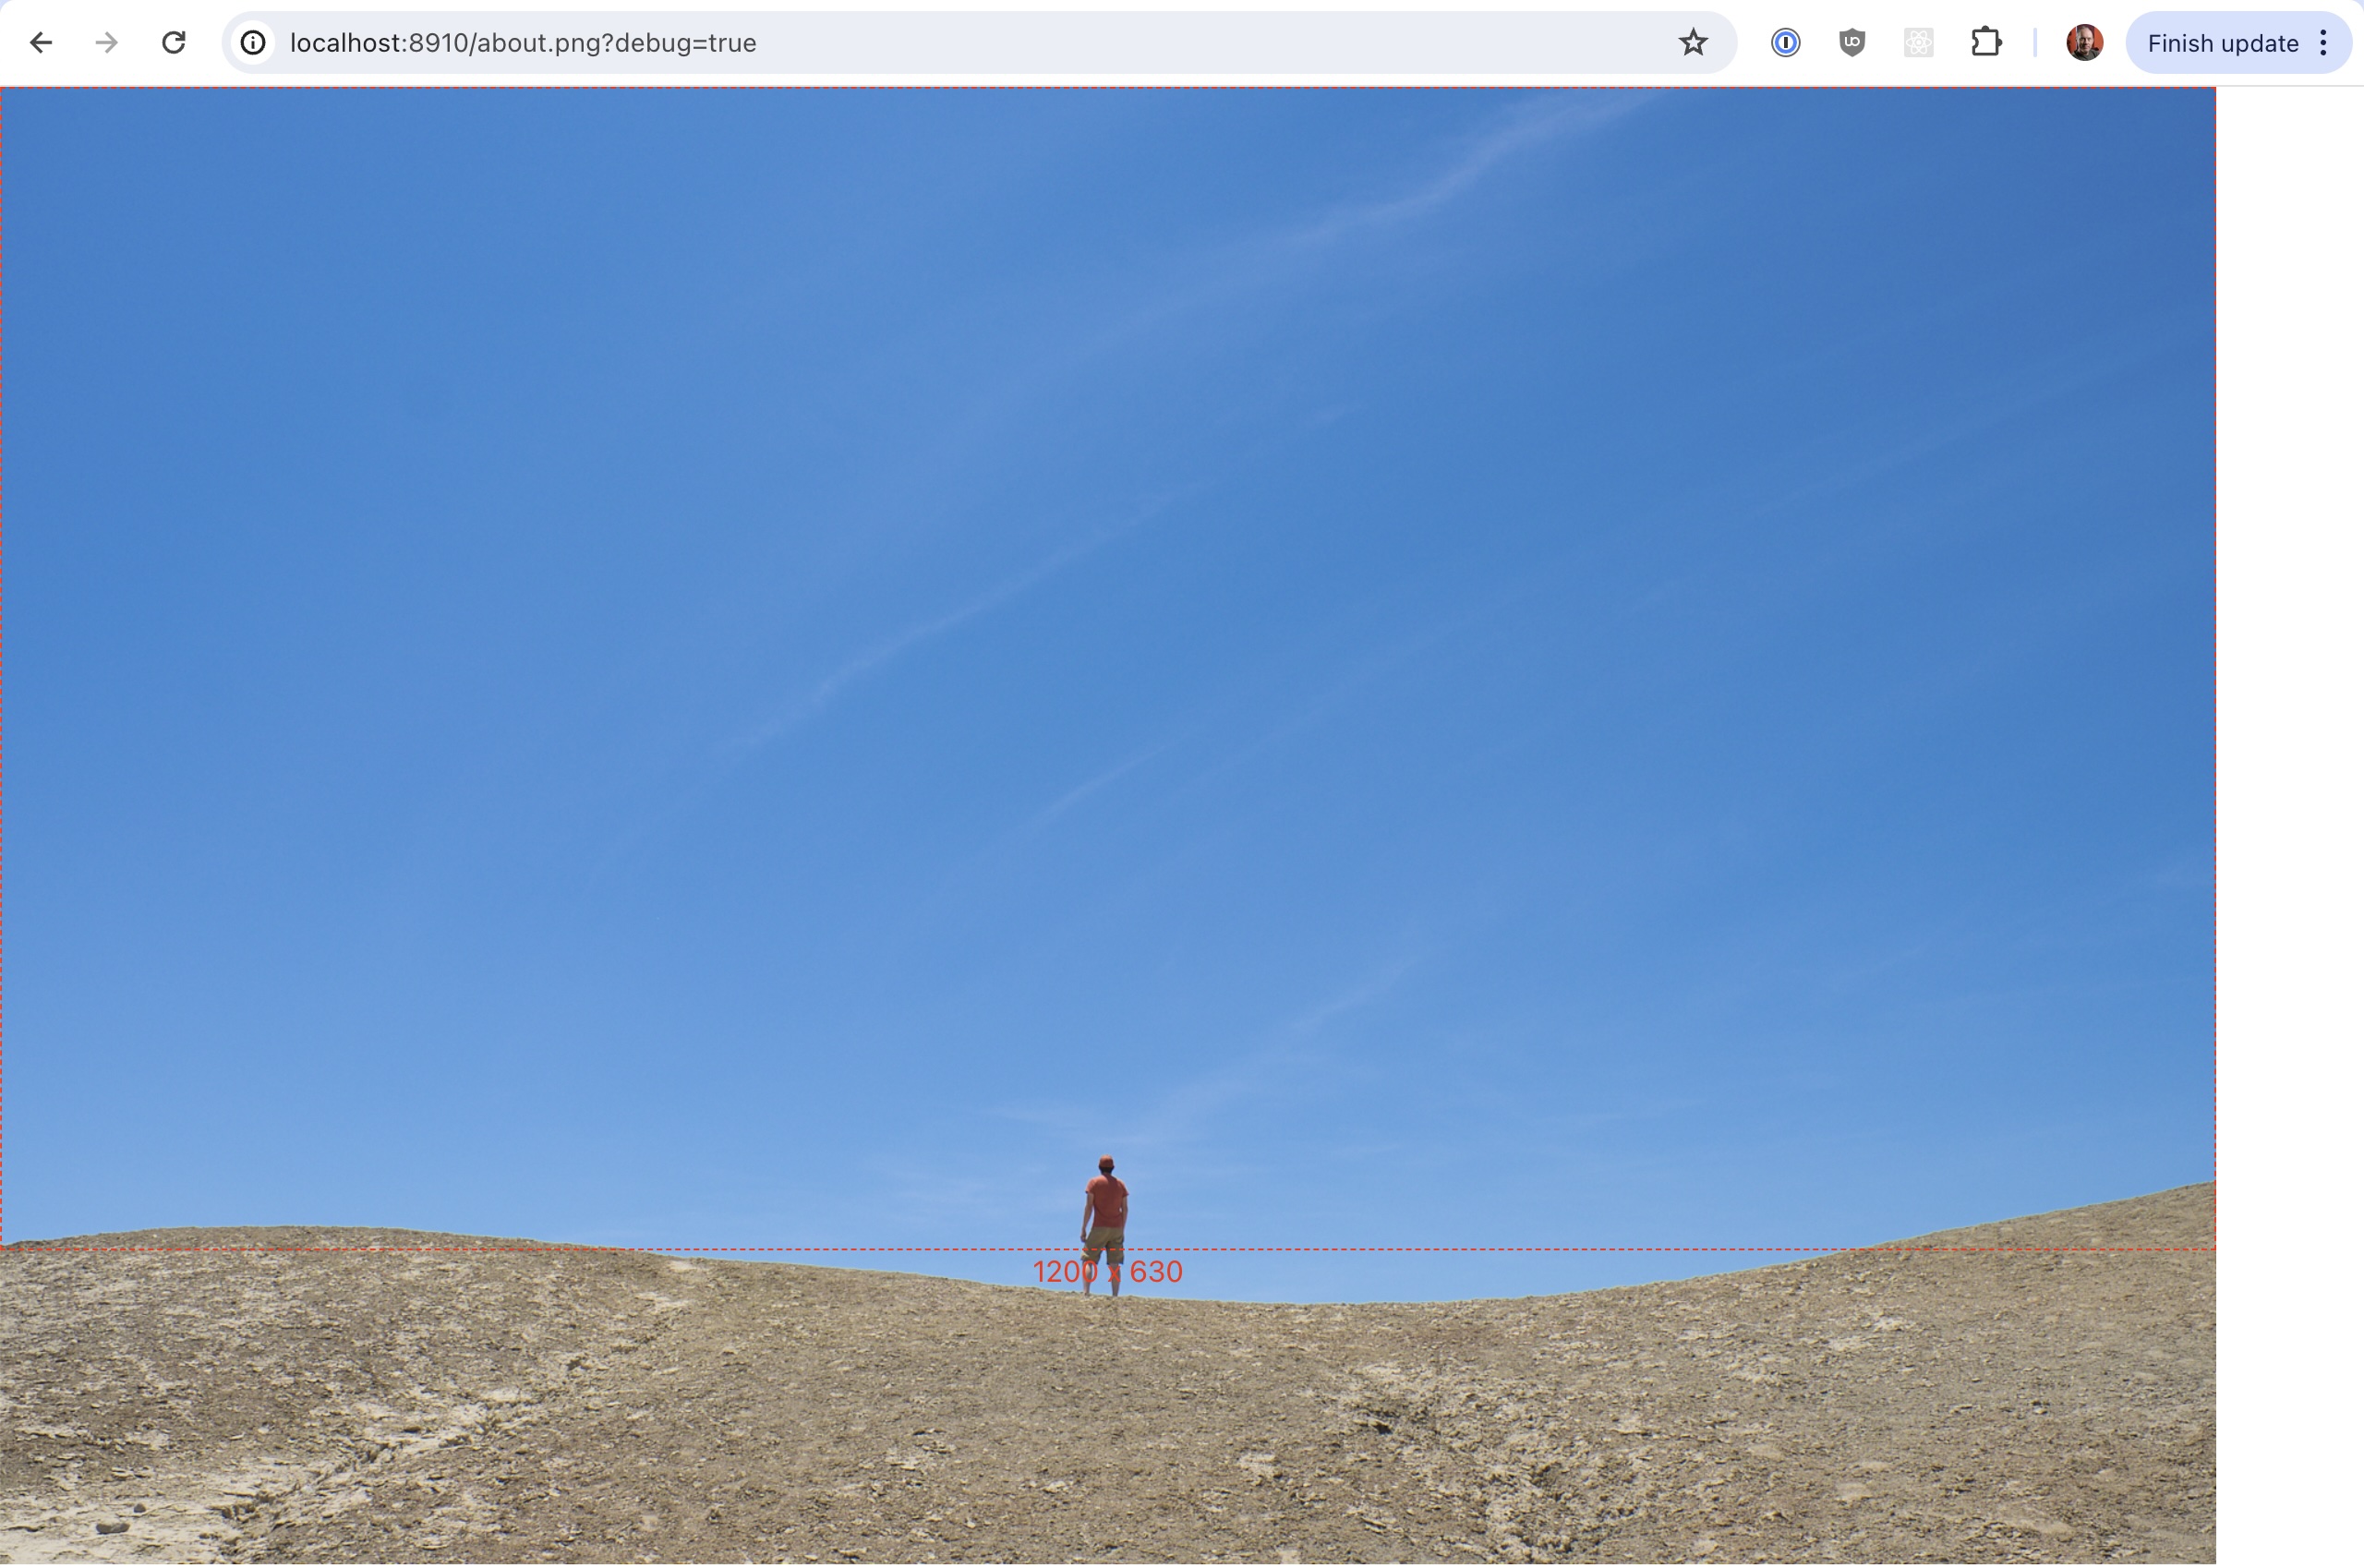
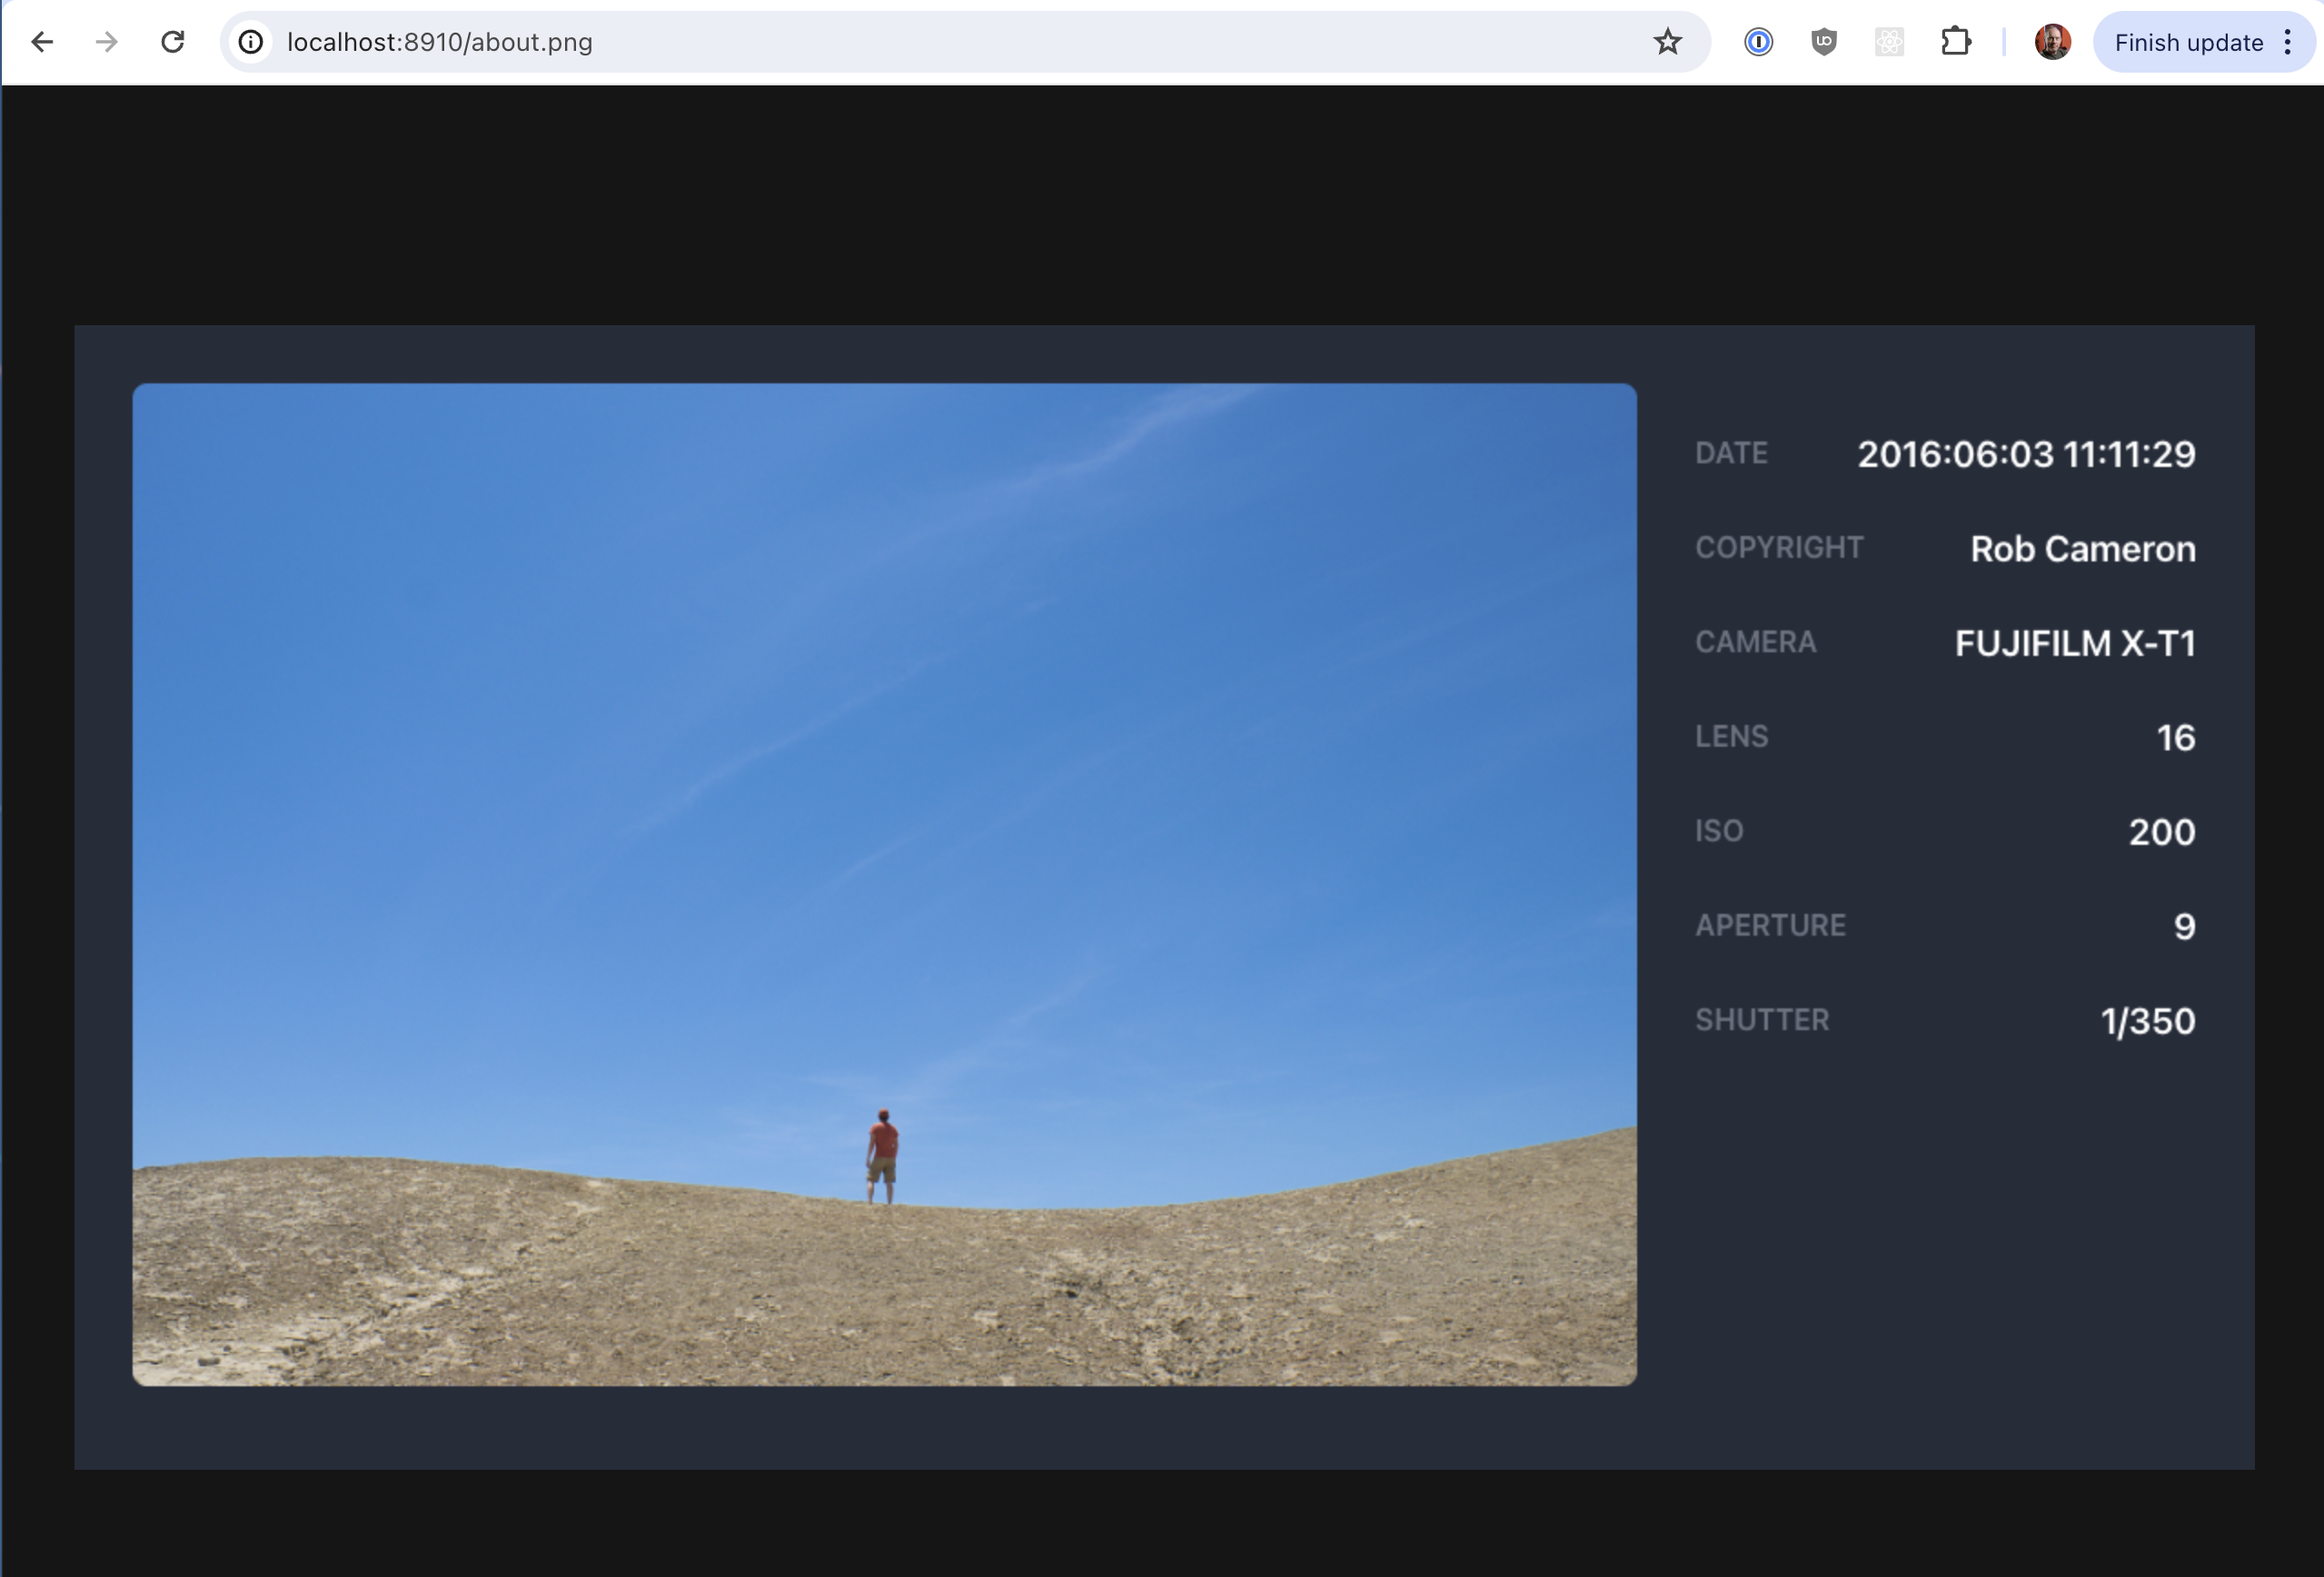
It's working! The dashed outline doesn't actually constrain anything vertically, it's just there as a reference to show you would be rendered in your final 1200x630 og:image. If you remove ?debug=true you can see this in action:
The middleware does inject a <div style="width:1200px"> that limits the contents of your component to the rendered image width for convenience, otherwise you'd have to always limit the size of your component manually.
Let's put the image to the left and we'll leave some space on the right for the metadata:
export const output = ({ data }) => {
  return (
    <div className="flex items-start space-x-8">
      <div className="w-3/4">
        <img src="/photo.jpg" />
      </div>

      <aside className="w-1/4">
        <ul>
          {Object.entries(data).map(([key, value]) => (
            <li key={key}>
              <span>{key}</span>
              <span>{value}</span>
            </li>
          ))}
        </ul>
      </aside>
    </div>
  )
}
Finally, let's add some styling: margins, a darkroom background, space out the text a bit, and a fixed height so it fills our 630px high image:
export const output = ({ data }) => {
  return (
    <div className="p-8 flex items-start space-x-8 bg-gray-800 h-[630px]">
      <div className="w-3/4">
        <img src="/photo.jpg" className="rounded-lg" />
      </div>

      <aside className="w-1/4">
        <ul className="list-none p-0 ">
          {Object.entries(data).map(([key, value]) => (
            <li key={key} className="flex items-center justify-between my-6">
              <span className="text-gray-500 uppercase font-semibold">
                {key}
              </span>
              <span className="text-white text-xl font-semibold">{value}</span>
            </li>
          ))}
        </ul>
      </aside>
    </div>
  )
}
And let's remove ?debug=true to double check:
Nice! Now to get this URL into the <meta> of the page so that bots can actually find this image.
Metadata and the useOgImage() Hook
Now we just need to add a <meta> tag containing the URL to the image. The og:image middleware package exports the useOgImage() hook for doing just this.
Back to the actual PhotoPage.jsx page:
import { useOgImage } from '@redwoodjs/ogimage-gen/hooks'
import { Link, routes } from '@redwoodjs/router'
import { Metadata } from '@redwoodjs/web'

const PhotoPage = () => {
  const { ogProps } = useOgImage()

  return (
    <>
      <Metadata
        title="The Sky"
        description="A person standing on a bare dirt hill in front of a blue sky"
        og={ogProps}
      />

      <h1>PhotoPage</h1>
      <p>
        Find me in <code>./web/src/pages/PhotoPage/PhotoPage.jsx</code>
      </p>
      <p>
        My default route is named <code>photo</code>, link to me with `
        <Link to={routes.photo()}>Photo</Link>`
      </p>
    </>
  )
}

export default PhotoPage
ogProps contains the object necessary to tell the Metadata component about the og:image attirbutes to add:
{
  image: [
    "http://localhost:8910/photo.png"
    {
      width: 1200, height: 630,
    },
  ]
}
If you inspect the source of the photo page now, you'll see those <meta> tags in the head along with a few convenience ones added for you automatically:
<meta name="title" content="Photo" data-rwjs-head="true">
<meta name="description" content="Photo page" data-rwjs-head="true">
<meta property="og:image" content="http://localhost:8910/photo.png" data-rwjs-head="true">
<meta property="og:image:width" content="1200" data-rwjs-head="true">
<meta property="og:image:height" content="630" data-rwjs-head="true">
<meta property="og:title" content="Photo" data-rwjs-head="true">
<meta property="og:description" content="Photo page" data-rwjs-head="true">
<meta property="og:type" content="website" data-rwjs-head="true">
A bot crawling this page looking for its og:image along with a title and description now has everything it needs to unfurl your page.
Customizing the Image
You can customize the size of the final image here in the hook, along with output format and compression quality. useOgImage() accepts an option object:
const { url, width, height, quality, extension } = useOgImage({
  width: 1000,
  height: 768,
  extension: 'jpg',
  quality: 75
})
You'll see that all of the options (besides the extension) become query string variables on the path to the image:
http://localhost:8910/photo.jpg?width=1000&height=768&quality=75
As you can see, there's no magic behind generating the URL to the og:image. useOgImage() just handles that for you, returning several properties in addition to ogProps if you wanted to create all of the <meta> tags yourself:
const { url, width, height, extension, quality } = useOgImage()

// url = http://localhost:8910/photo.png
// width = 1200
// height = 630
// extension = 'png'
// quality = 100
Testing in the Real World
The image is showing up fine in development, but how do we know this will work when a bot comes to our site looking for <meta> tags? Luckily we can find out without deploying to production and trying to paste a bunch of links on various sites.
https://opengraph.xyz provides a free tool which will crawl a given URL and show you all of your <meta> tags, note which ones bots will care about, as well as provide an image preview of your og:image as it would appear on Facebook, Twitter and Linkedin!
But how will opengraph.xyz access our localhost? We'll need to get it live to the greater internet. Our favorite way is using ngrok, a utility which provides a tunnel from a unique URL to a port on your computer. There are other tools that provide similar functionality, but we'll be using ngrok here.
Because of how vite bundles scripts and styles in dev mode, we need to serve our site in production mode instead in order for all of these includes to also be available to the browser.
<script> and <link> tags using absolute file paths, not URLs, which would not be available outside of your own dev machine.Before we do that, we'll need to update that path to photo.jpg in our og:image component to reference the path to the file after building for production:
export const data = async () => {
  const filename =
    process.env.NODE_ENV === 'production'
      ? path.join(import.meta.dirname, '..', '..', '..', 'photo.jpg')
      : path.join(import.meta.dirname, '..', '..', '..', 'public', 'photo.jpg')
  // ...
}
Now we can build and serve the site for production:
yarn rw build
yarn rw serve
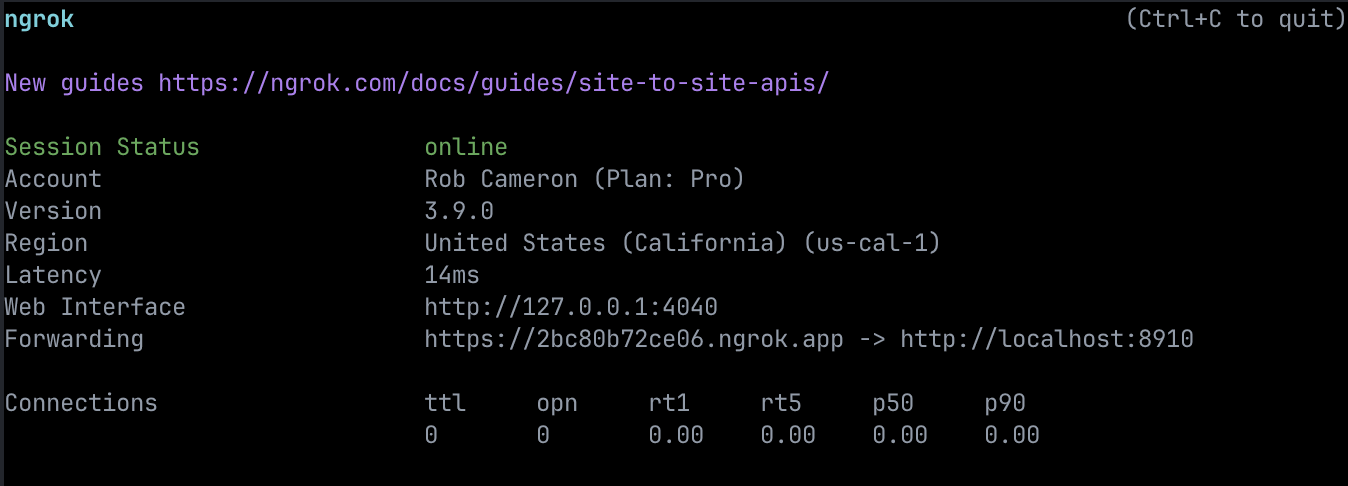
In a new terminal window, tell ngrok to serve http traffic from port 8910:
ngrok http 8910
The output will let you know what the domain is to access your app (look for the "Forwarding" line):
Open that domain and you should see your homepage. Add /photo to the URL to see the photo page, and finally add .png and you should see your og:image!
Now, copy the path to /photo (the page, not the og:image) and paste that in at https://opengraph.xyz and after a moment you should see something like the following:
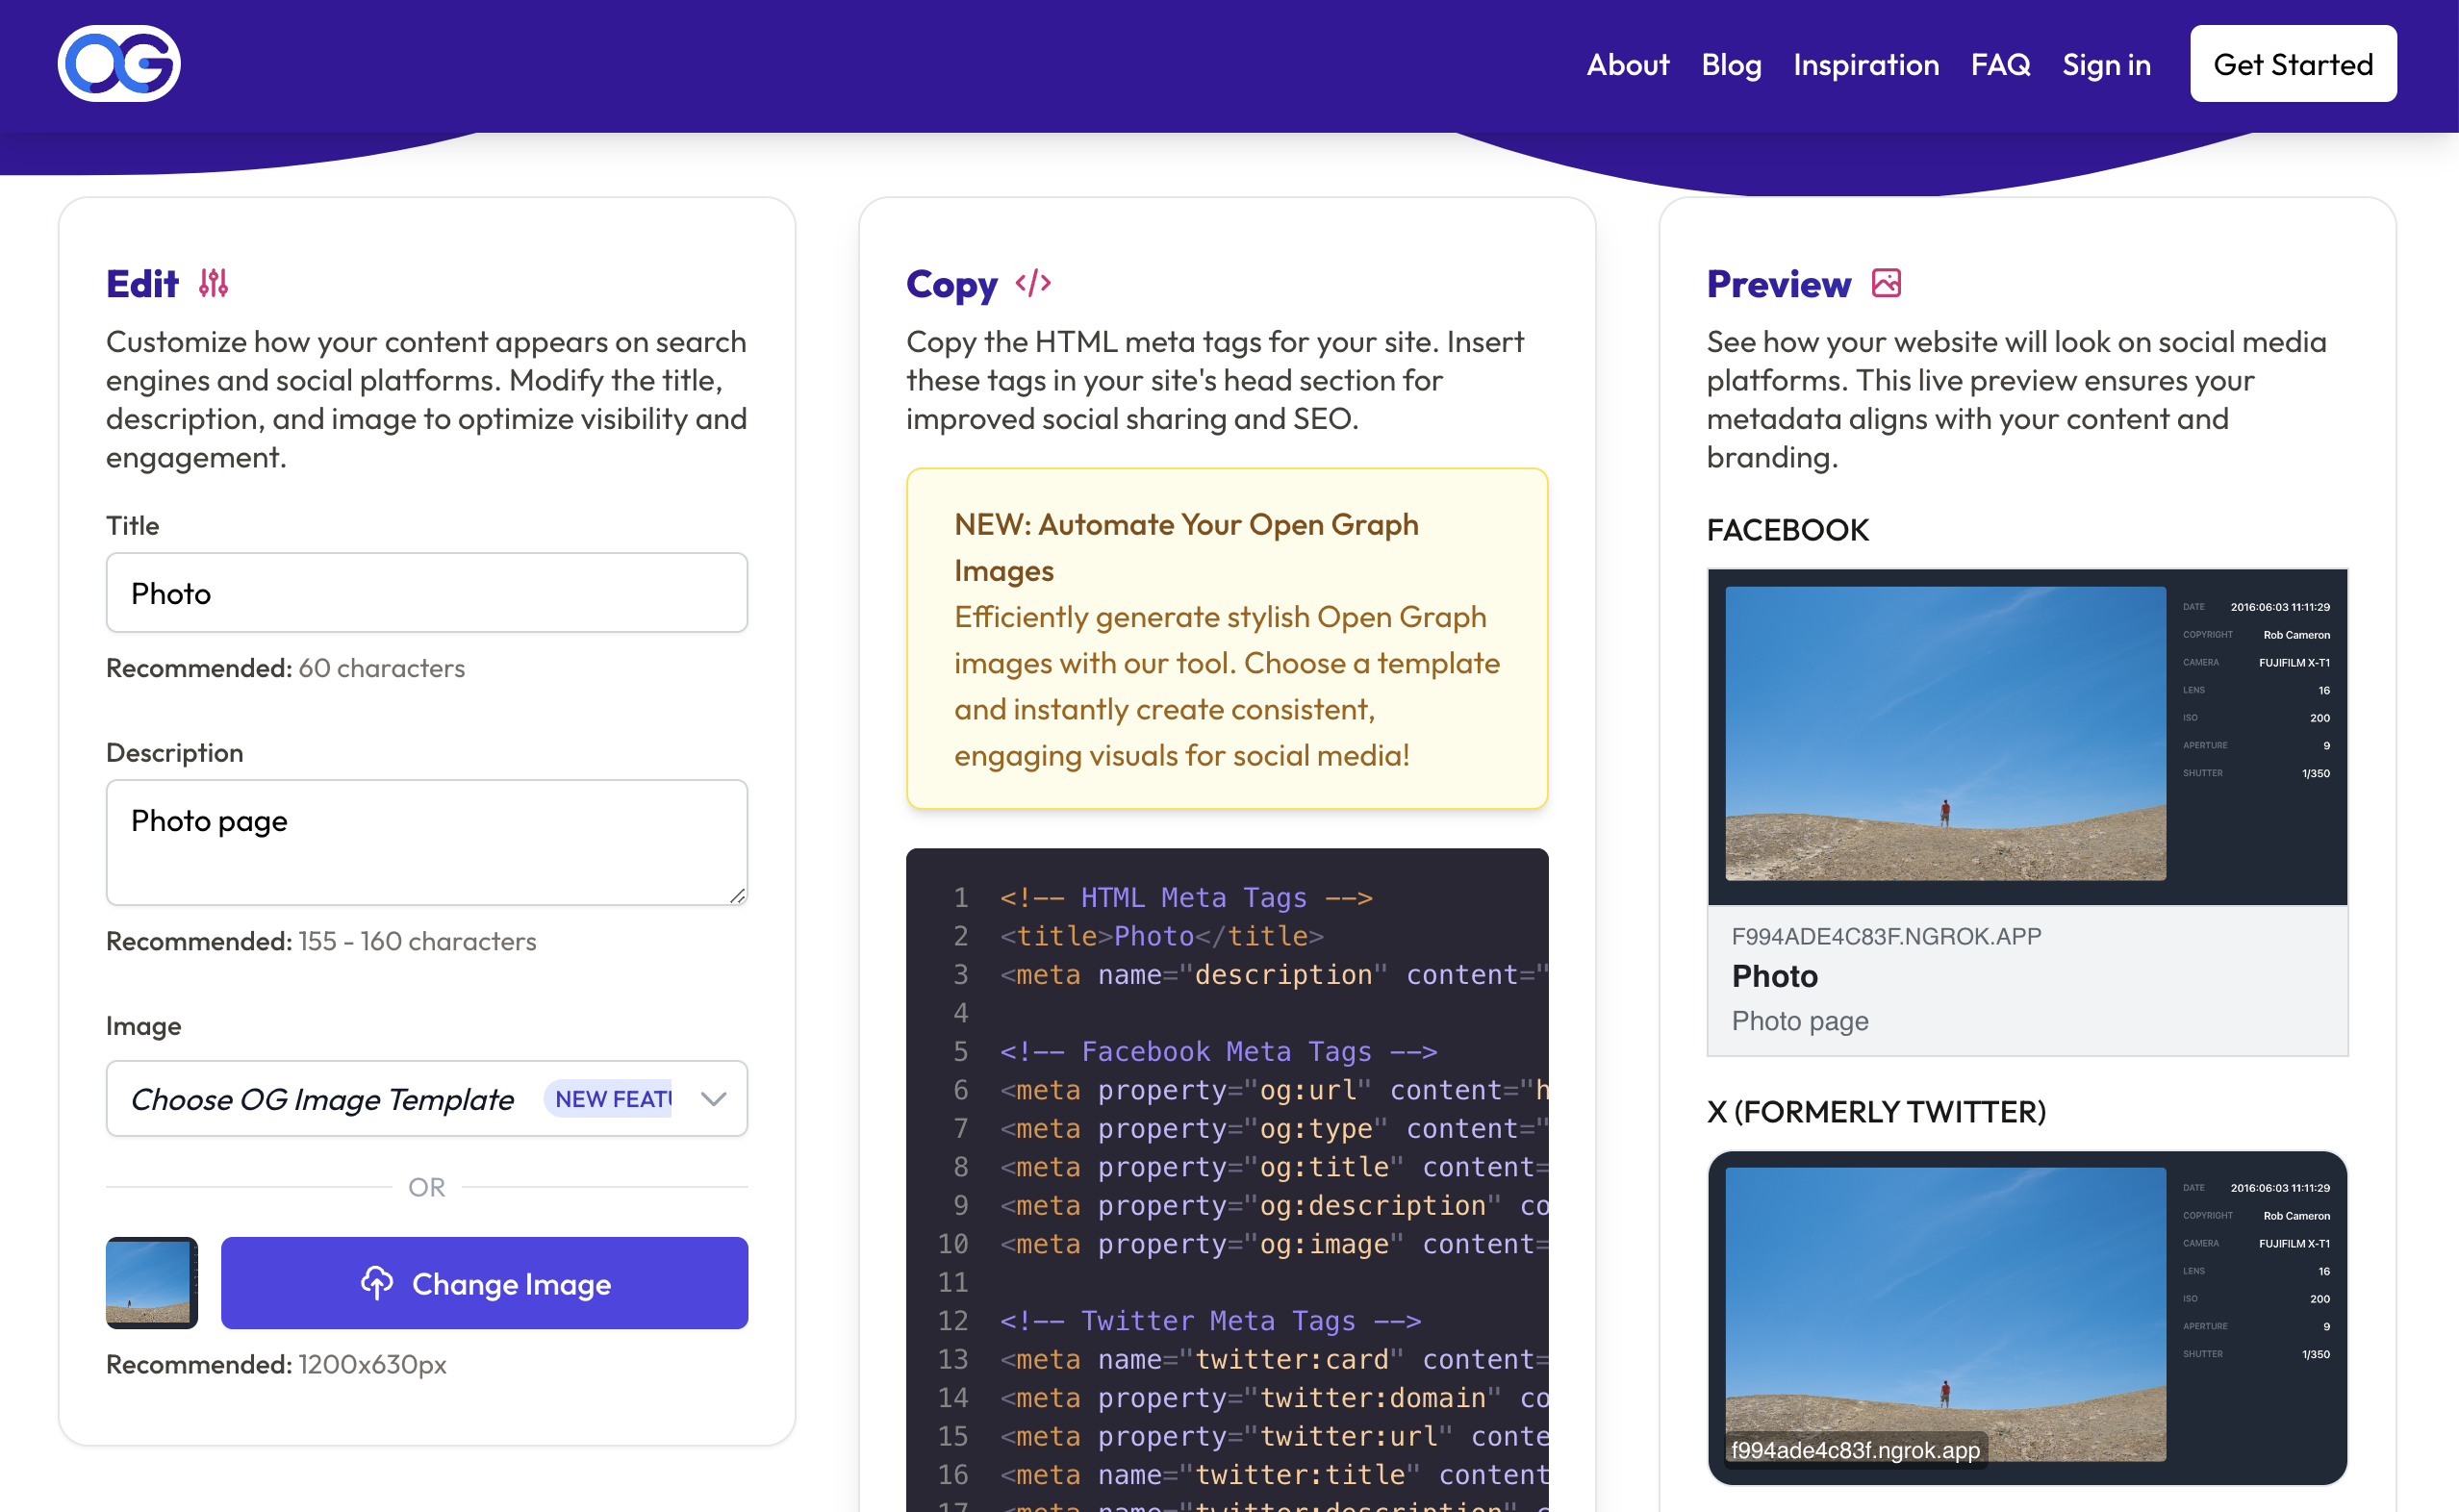
It works! The marketing department will love us even more than they already do!
Wrapping Up
This feature started as a super quick hack by Danny and Rob at RedwoodJS Conf in October of 2023, and we're very excited to see it finally released to the world! Once again, Redwood makes an essential part of your application easier to build: your og:images live alongside your pages, sharing the workflow and styling of the rest of your app!
But it doesn't mean we're done: is there anything you think we can do to improve og:image generation? Head the forums or Discord and let us know!